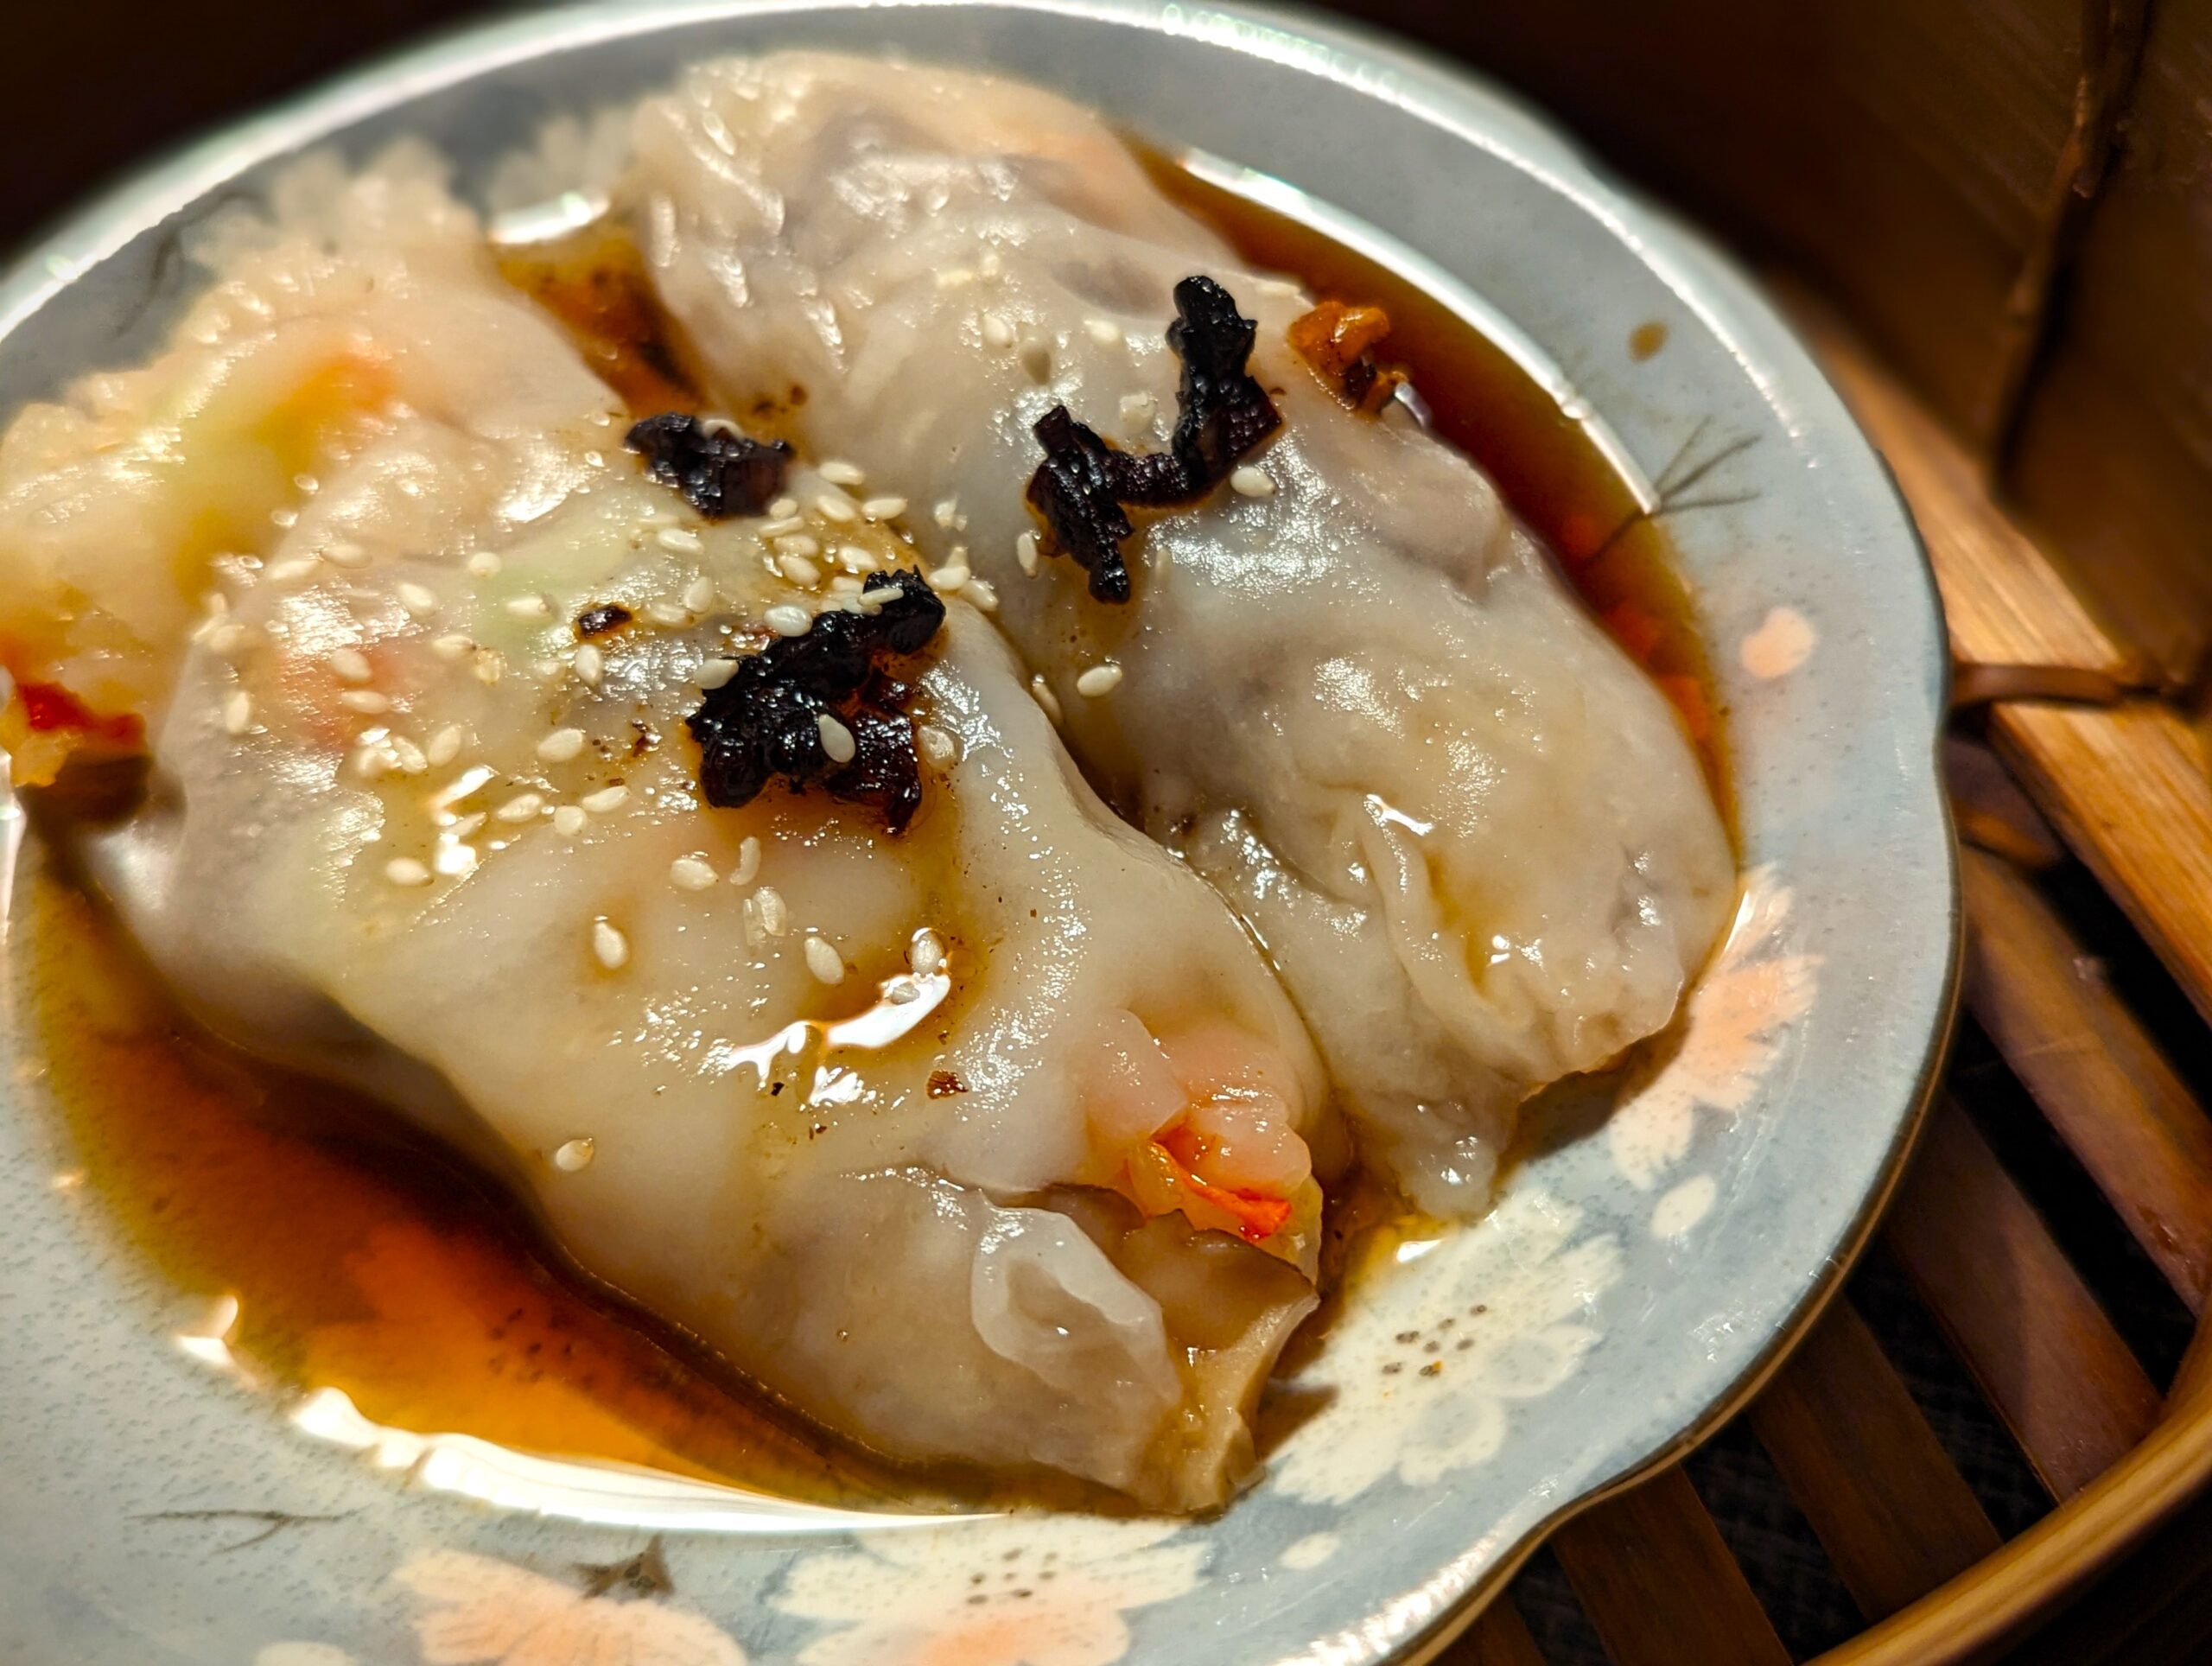
“Cheongfan” 腸粉 (‘Changfen‘ in Mandarin Chinese) is a very typical street breakfast in the southeastern Chinese province of Canton and Hongkong. It is naturally part of the dim sum repertoire in Cantonese brunch restaurants, and is my personal favourite. Street-style Cheongfan can be quite different from the restaurant-style ones: they tend to be thicker and the choice of fillings is huge, ranging from strips of sauteed beef to bits of barbecued pork called “char siew“. Sometimes, you can ask for no fillings at all just with a dash of sweet sauce or light soy sauce with a splatter of sesame seed.
What is “Cheongfan” 腸粉?
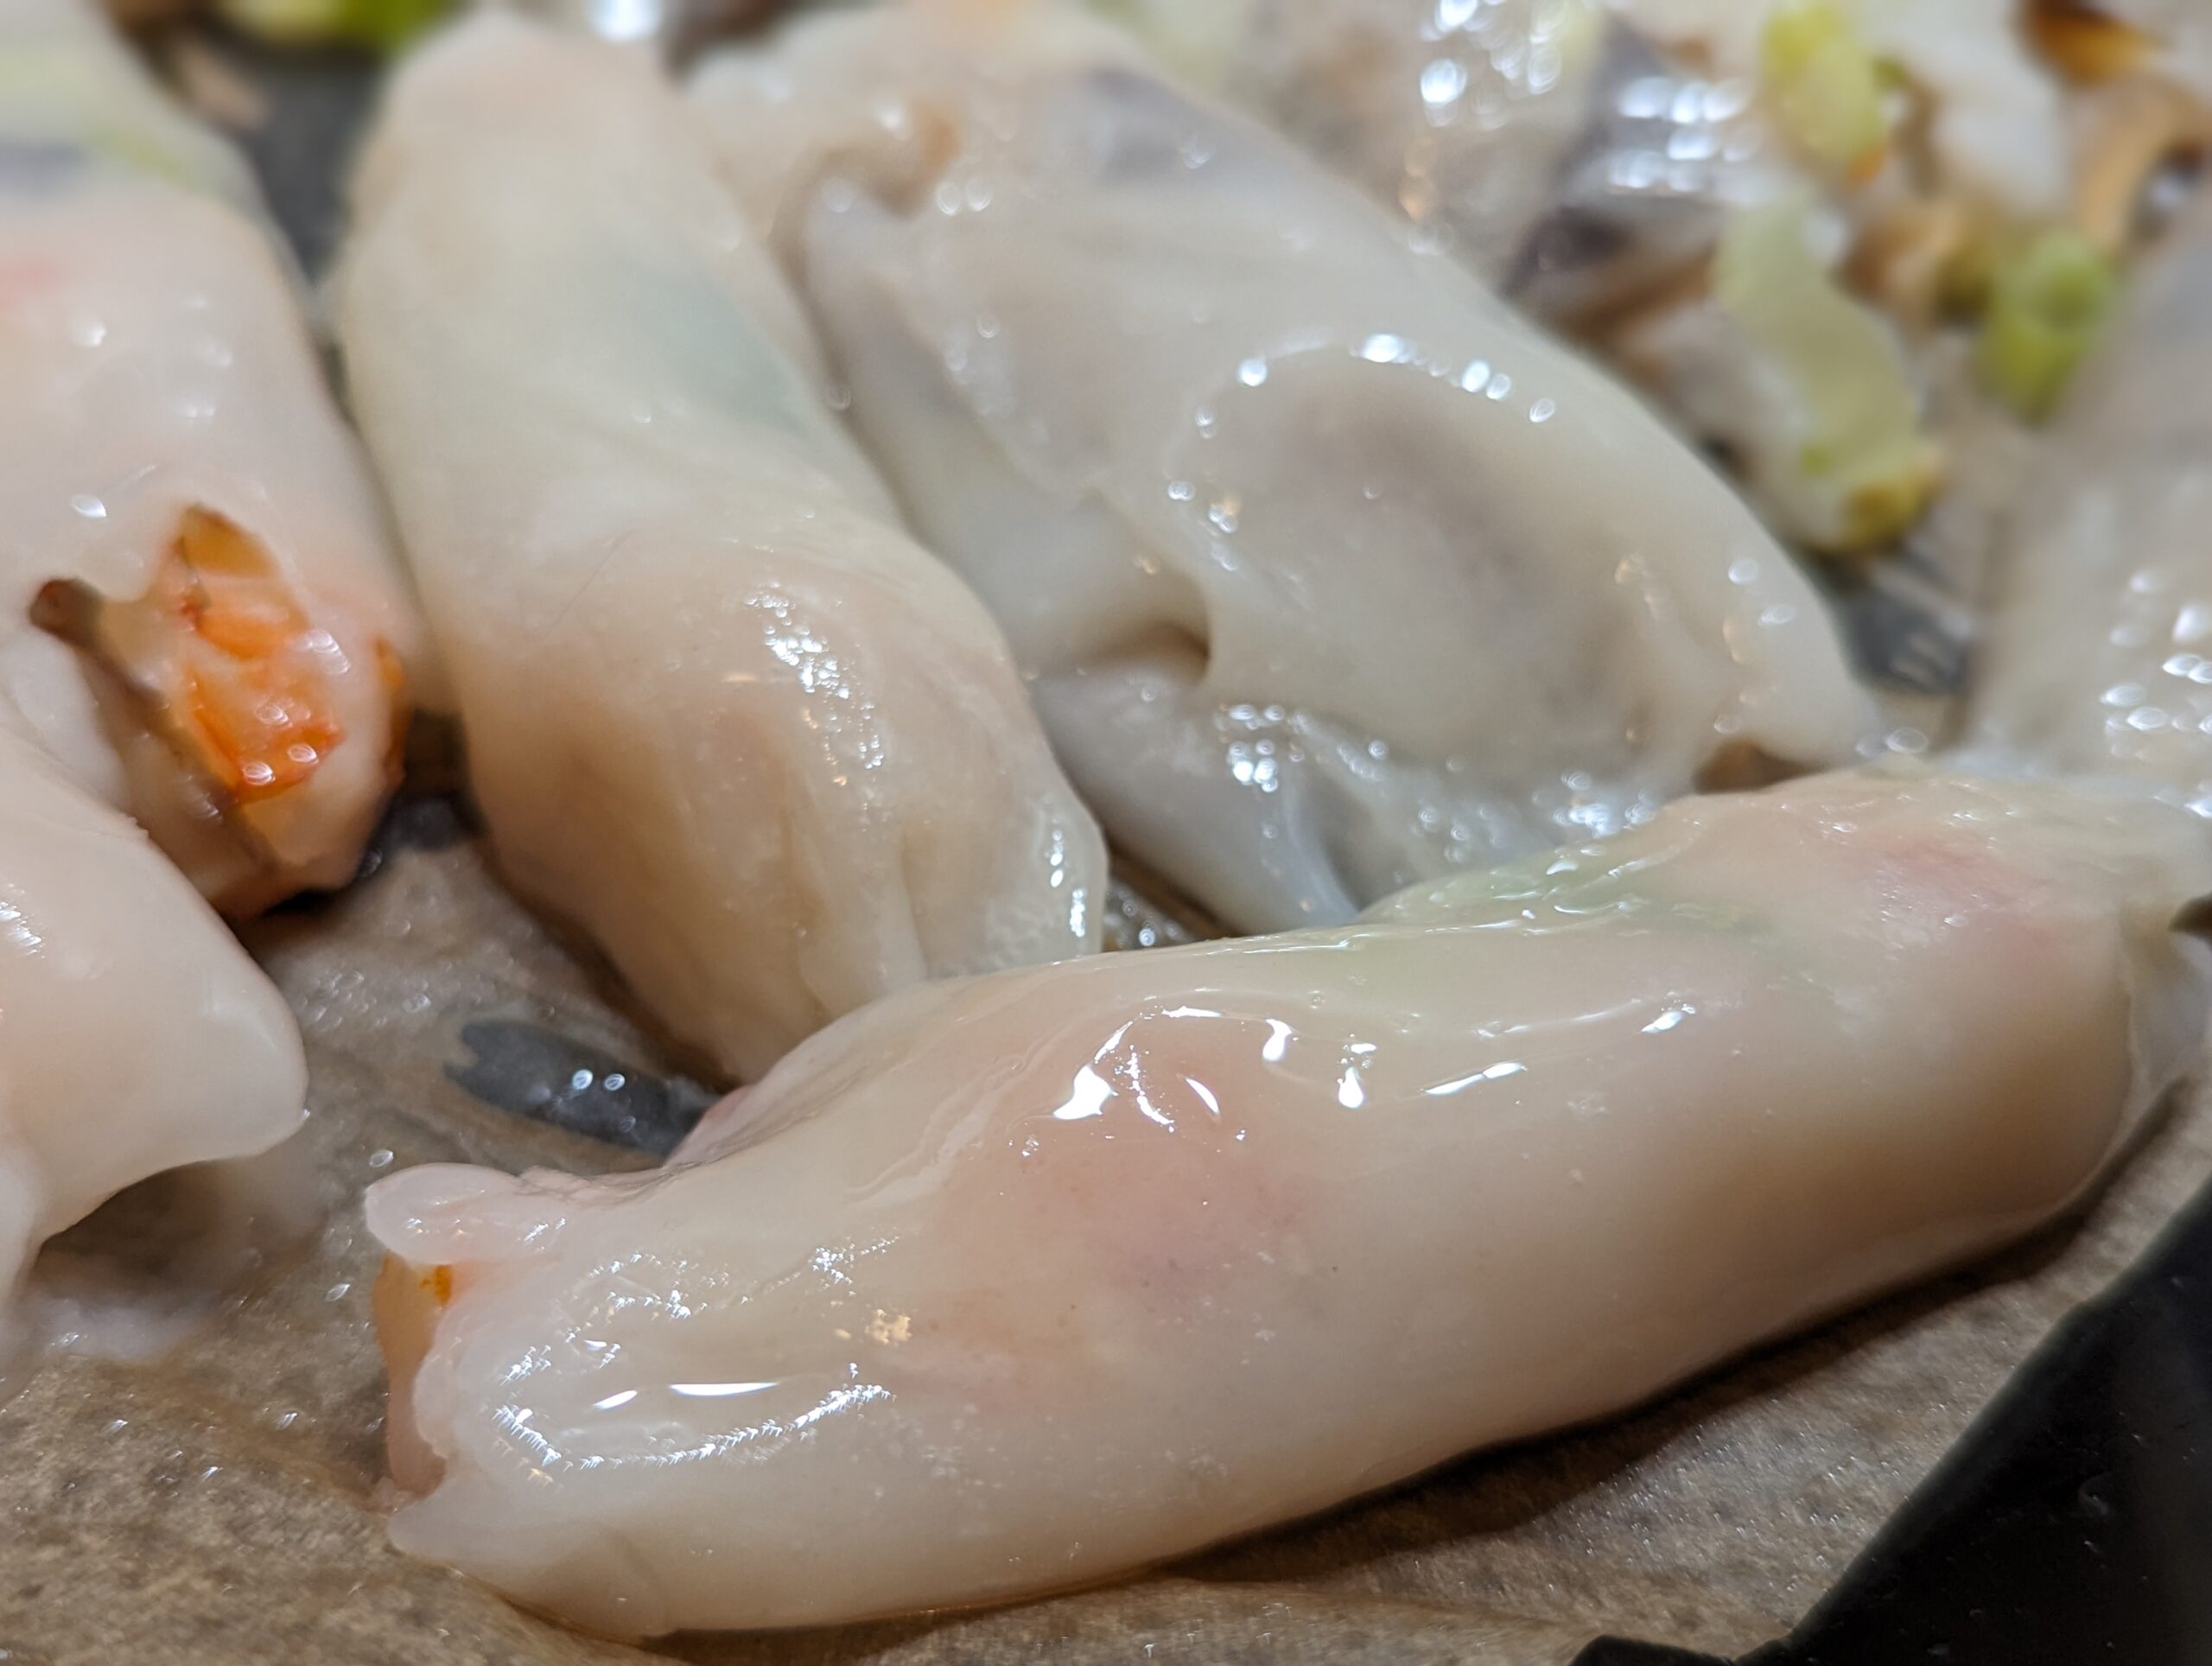
For the uninitiated, “Cheongfan” is a steamed rice roll with a texture that is very similar to that of the Cantonese rice noodles called “hor fan“. It is a streetfood that is made on the spot in some kind of steaming device that looks like a steel cabinet of drawers. You order the filling(s) and once the Cheongfan is ready, the filling is placed on the rice sheet which is instantly rolled into a cylinder and sometimes cut up for you. The vendor will then add some sweet and savoury sauce for you with a dash of sesame seeds.
Why microwaved “Cheongfan”?
It is quite a hassle to make cheongfan at home, especially if you do not have the steel device that makes sure your cheongfan is evenly spread out. To add to that, cheongfan is normally steamed on top of a piece of cotton cloth, which helps the vendor to lift the very thin rice sheet up without breaking it. So even with the device, you’ll need years of experience to make cheongfan.
But fret not, for I have discovered an alternative way to make cheongfan at home using the microwave! It is not without hassle, but you will get to make cheongfan wherever you are in the world.
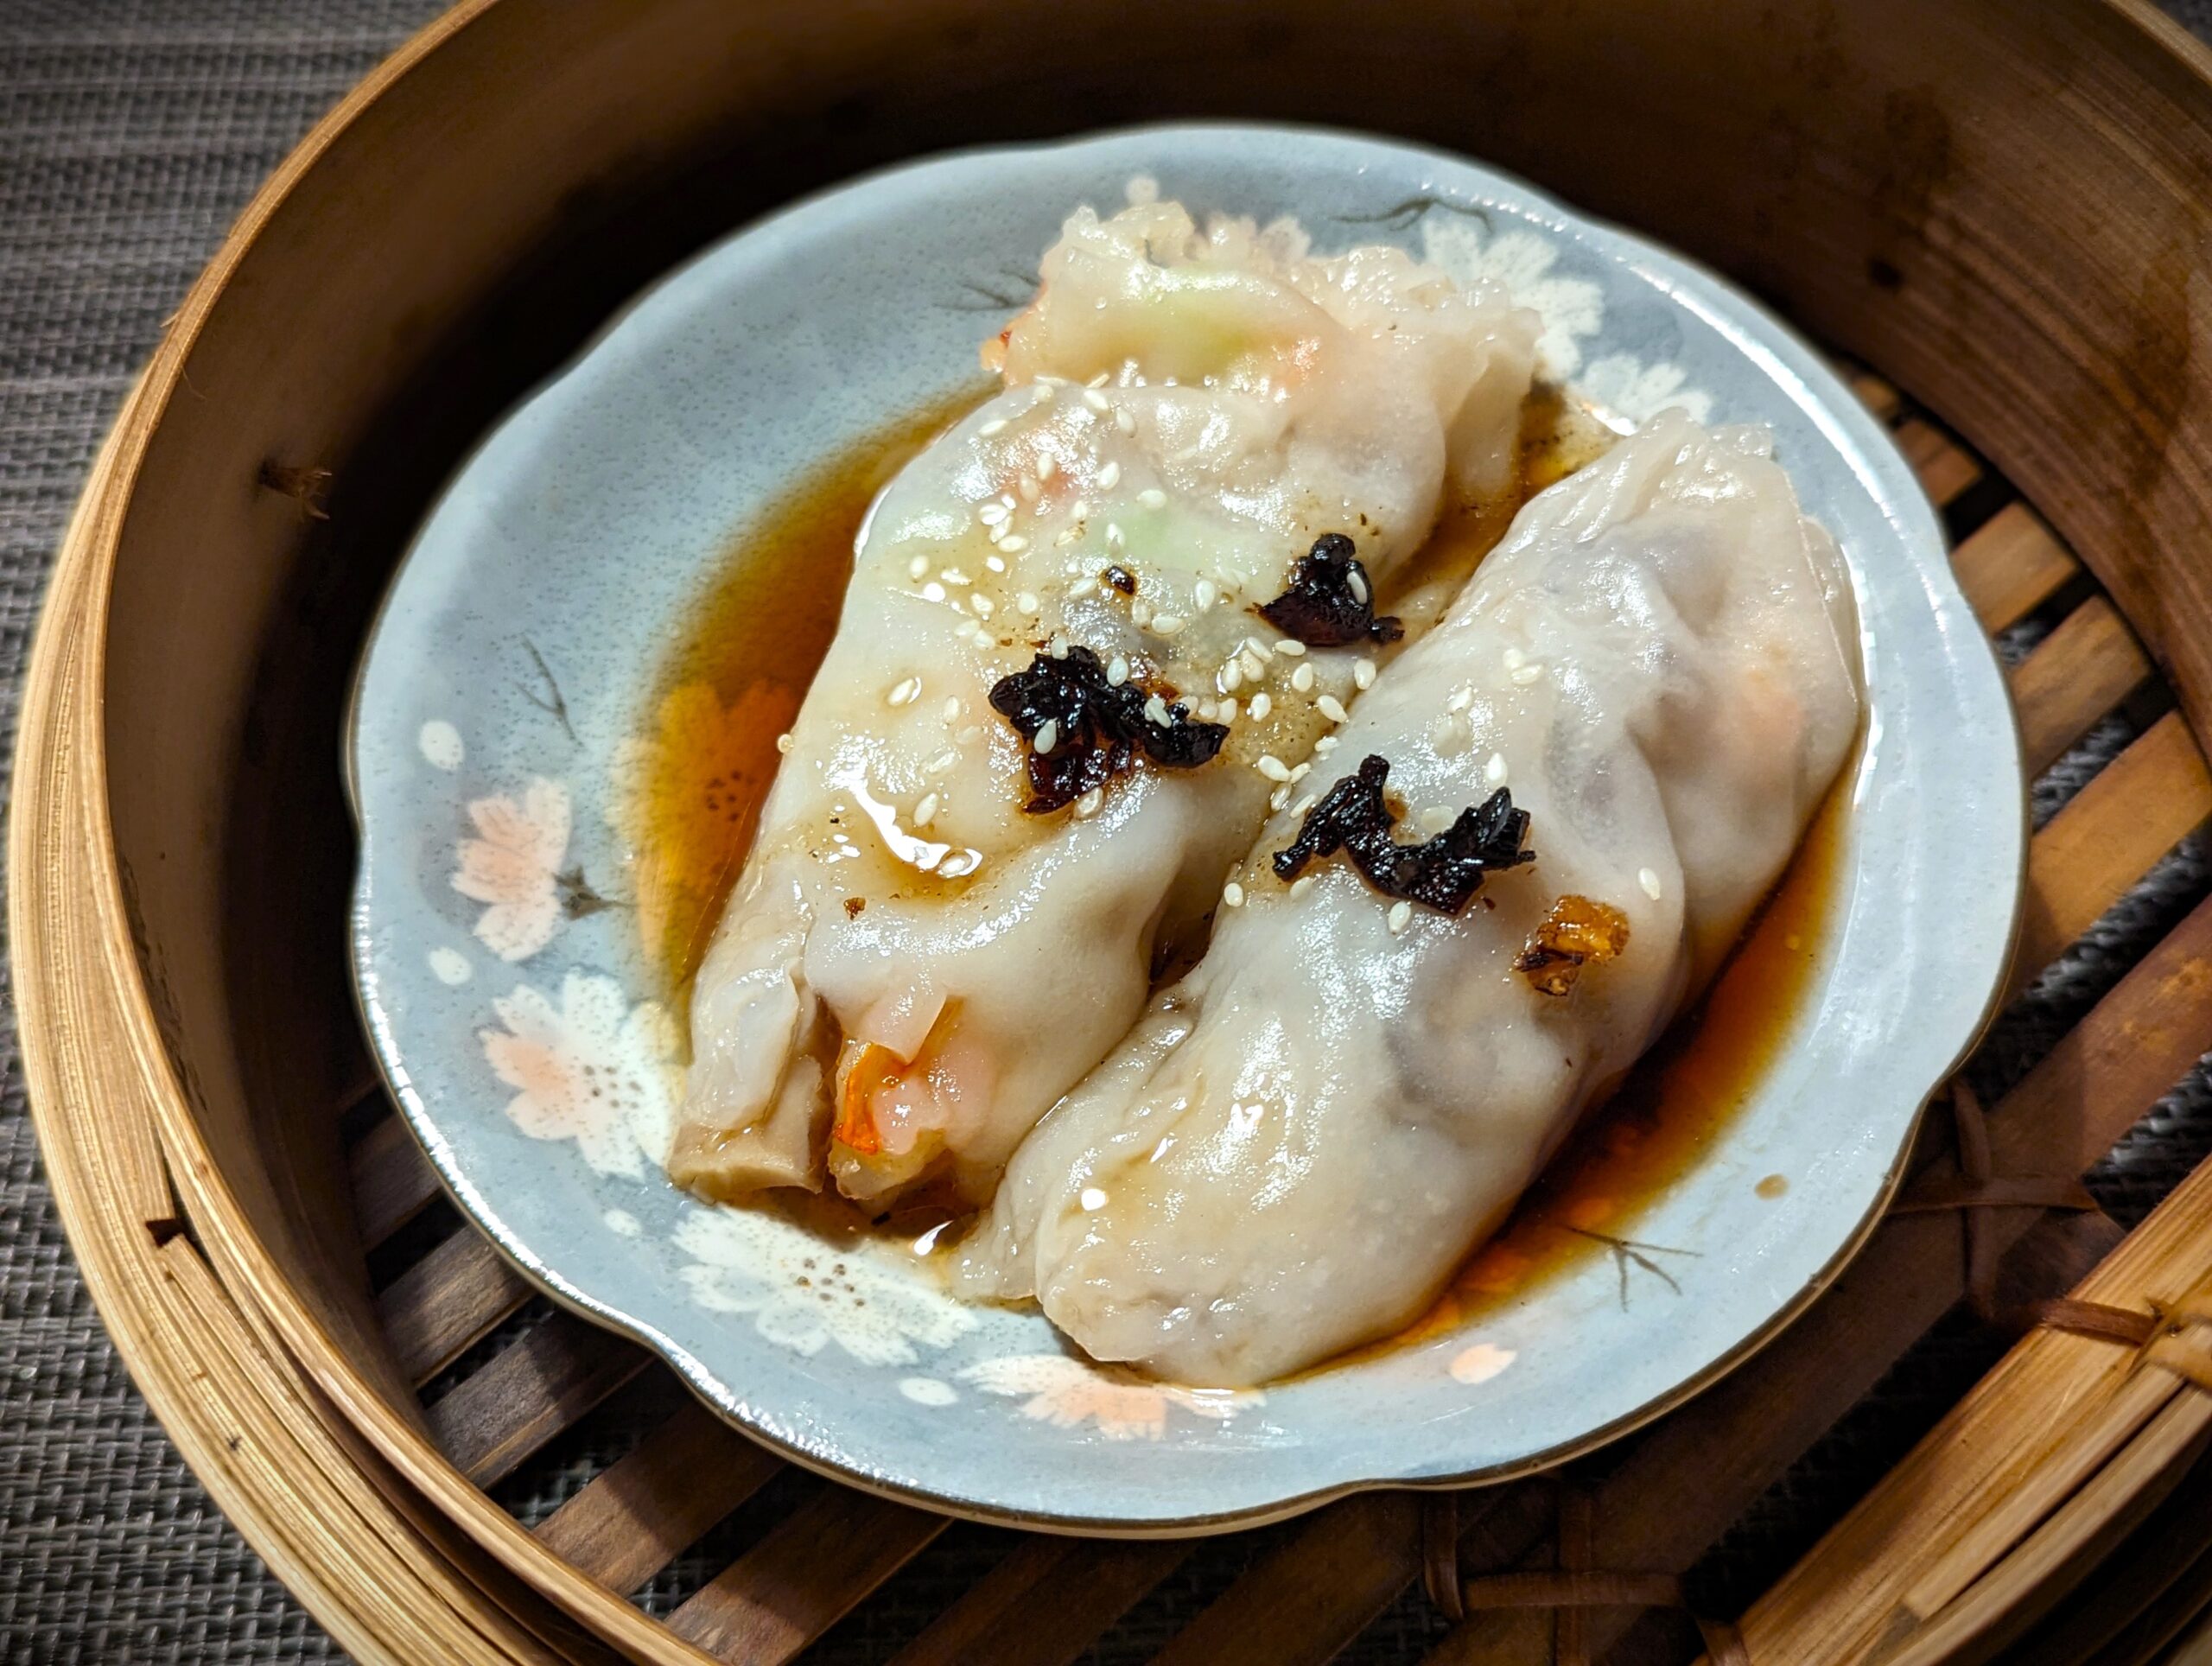
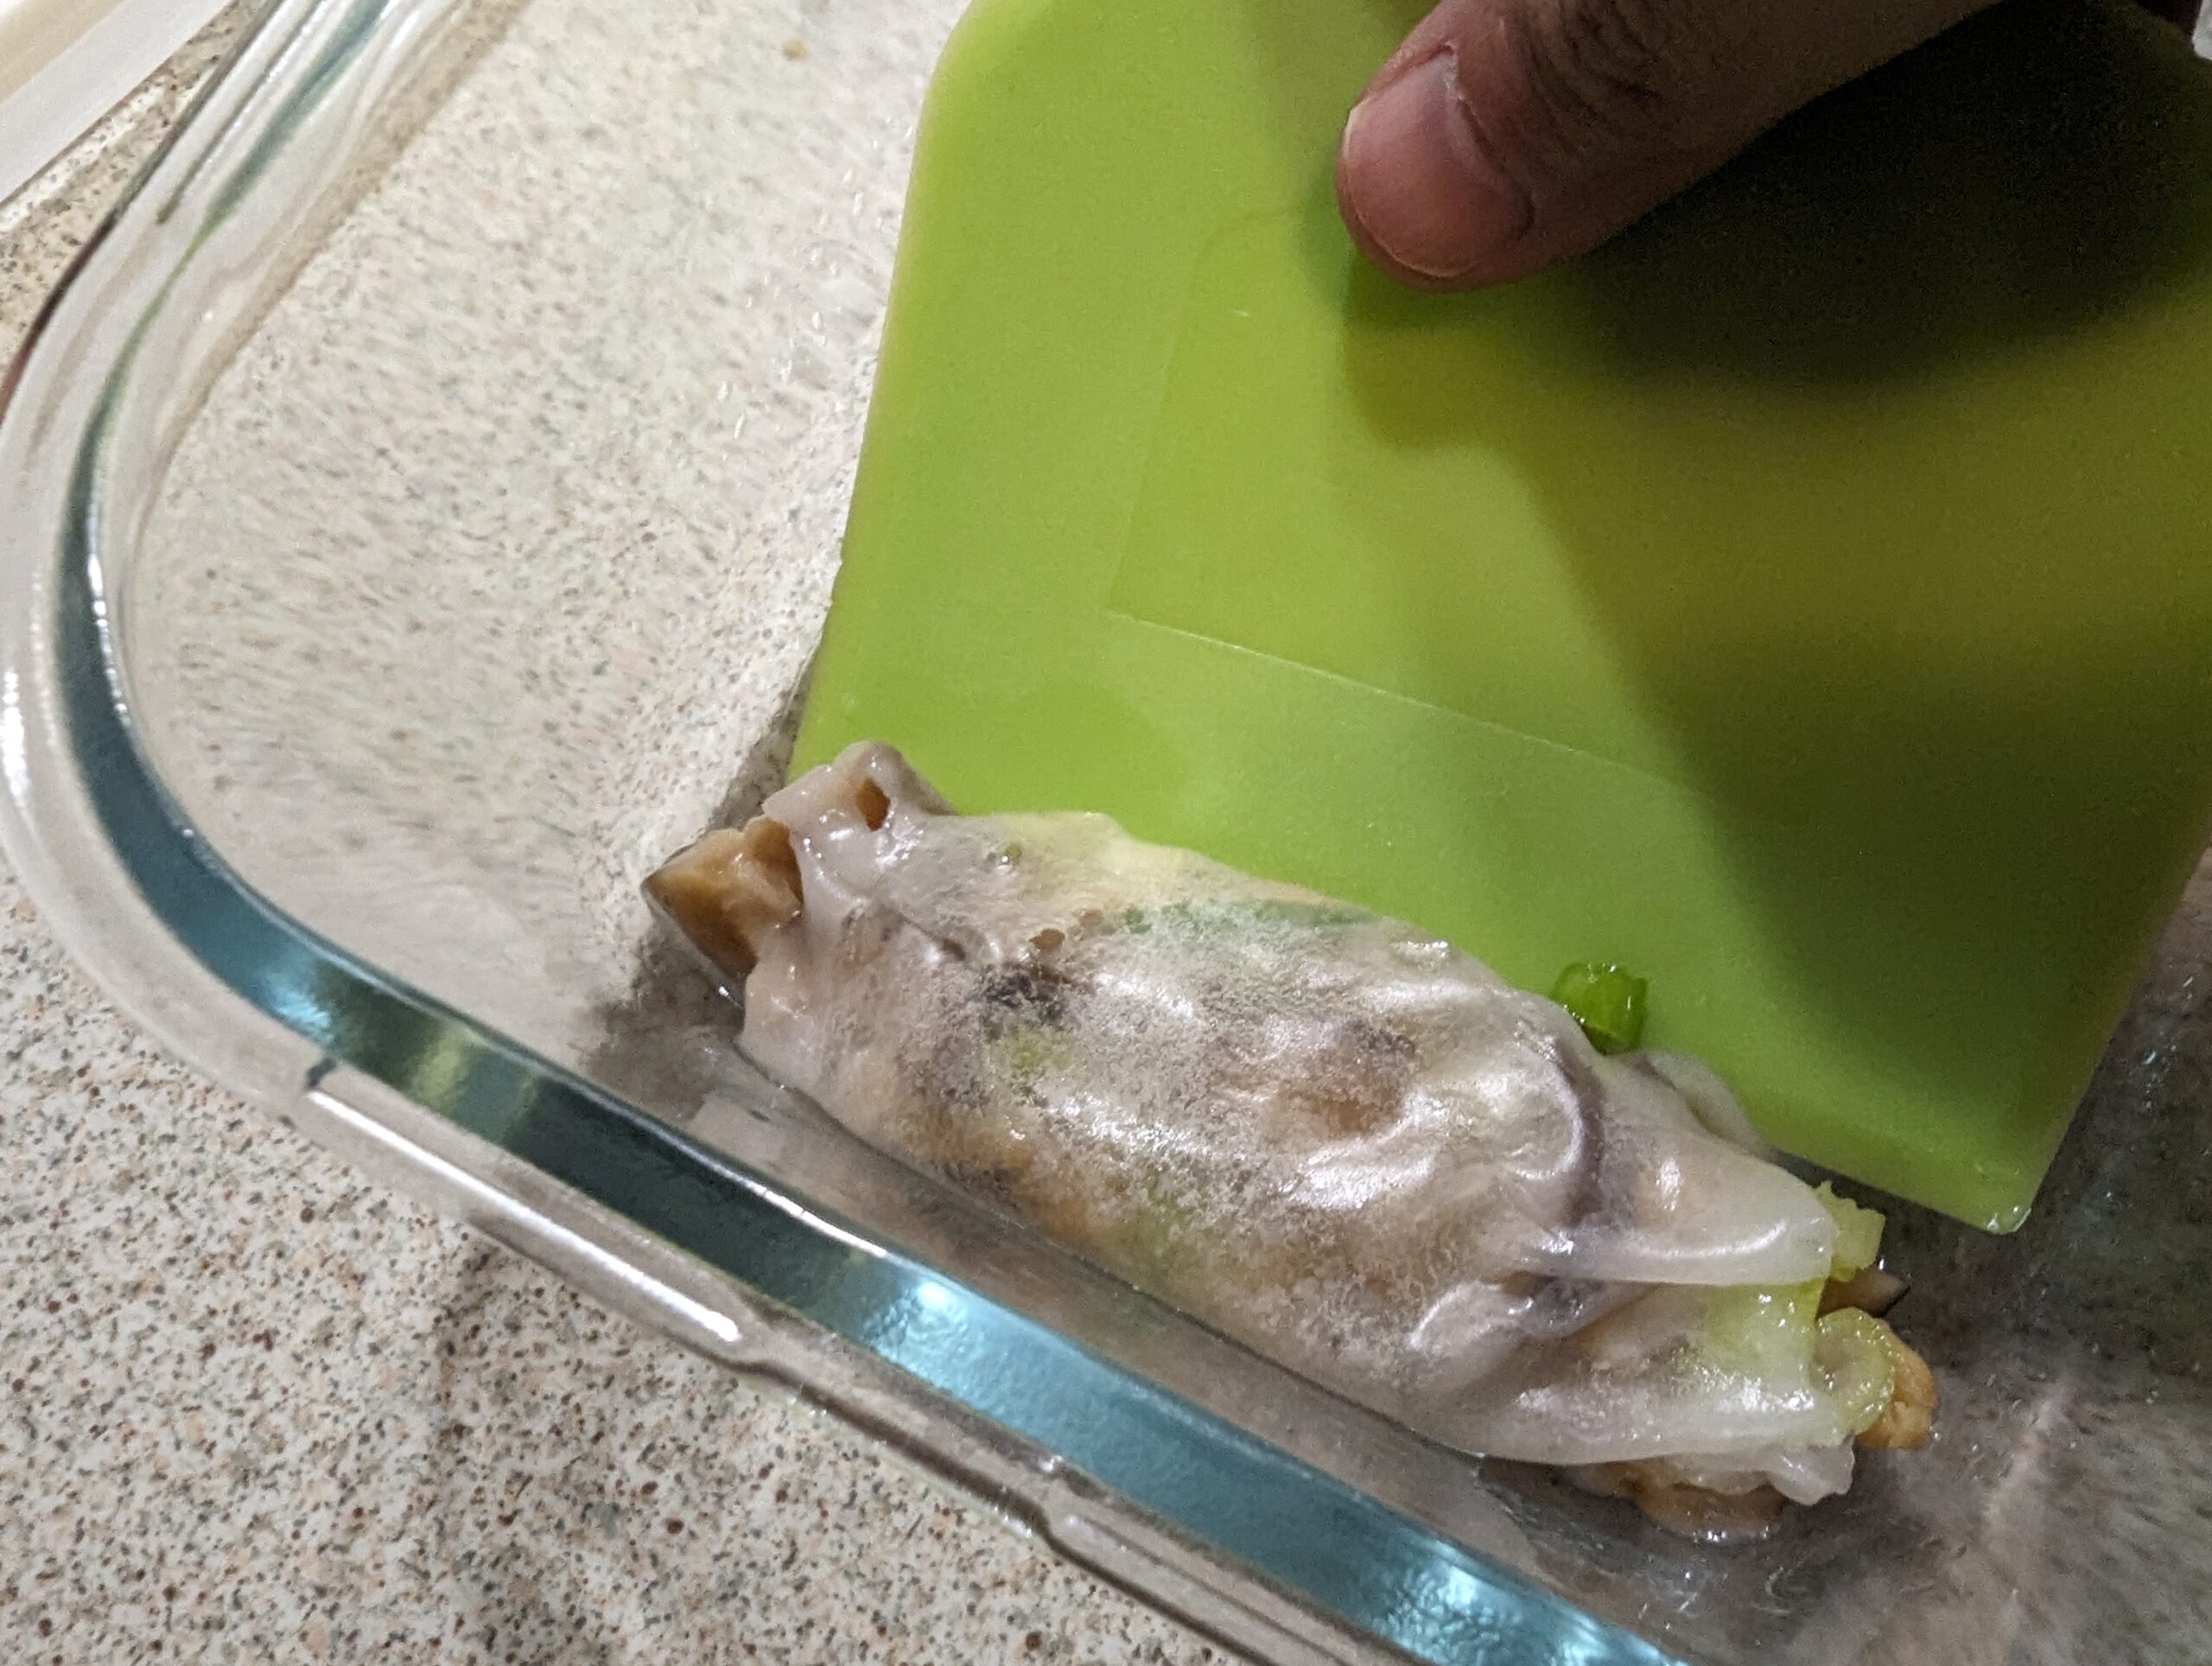
It took me some time to get the hang of rolling the cheongfan because it is very sticky. It is not as big as the streetside version but it really is up to you to make as many as you like to make up for it. The sides of the microwaved version are also not even, and I tend to add too much toppings so that they flow out. But I also kind of like that.
What you need:
- Microwave oven
- A flat rectangular glass container with cover
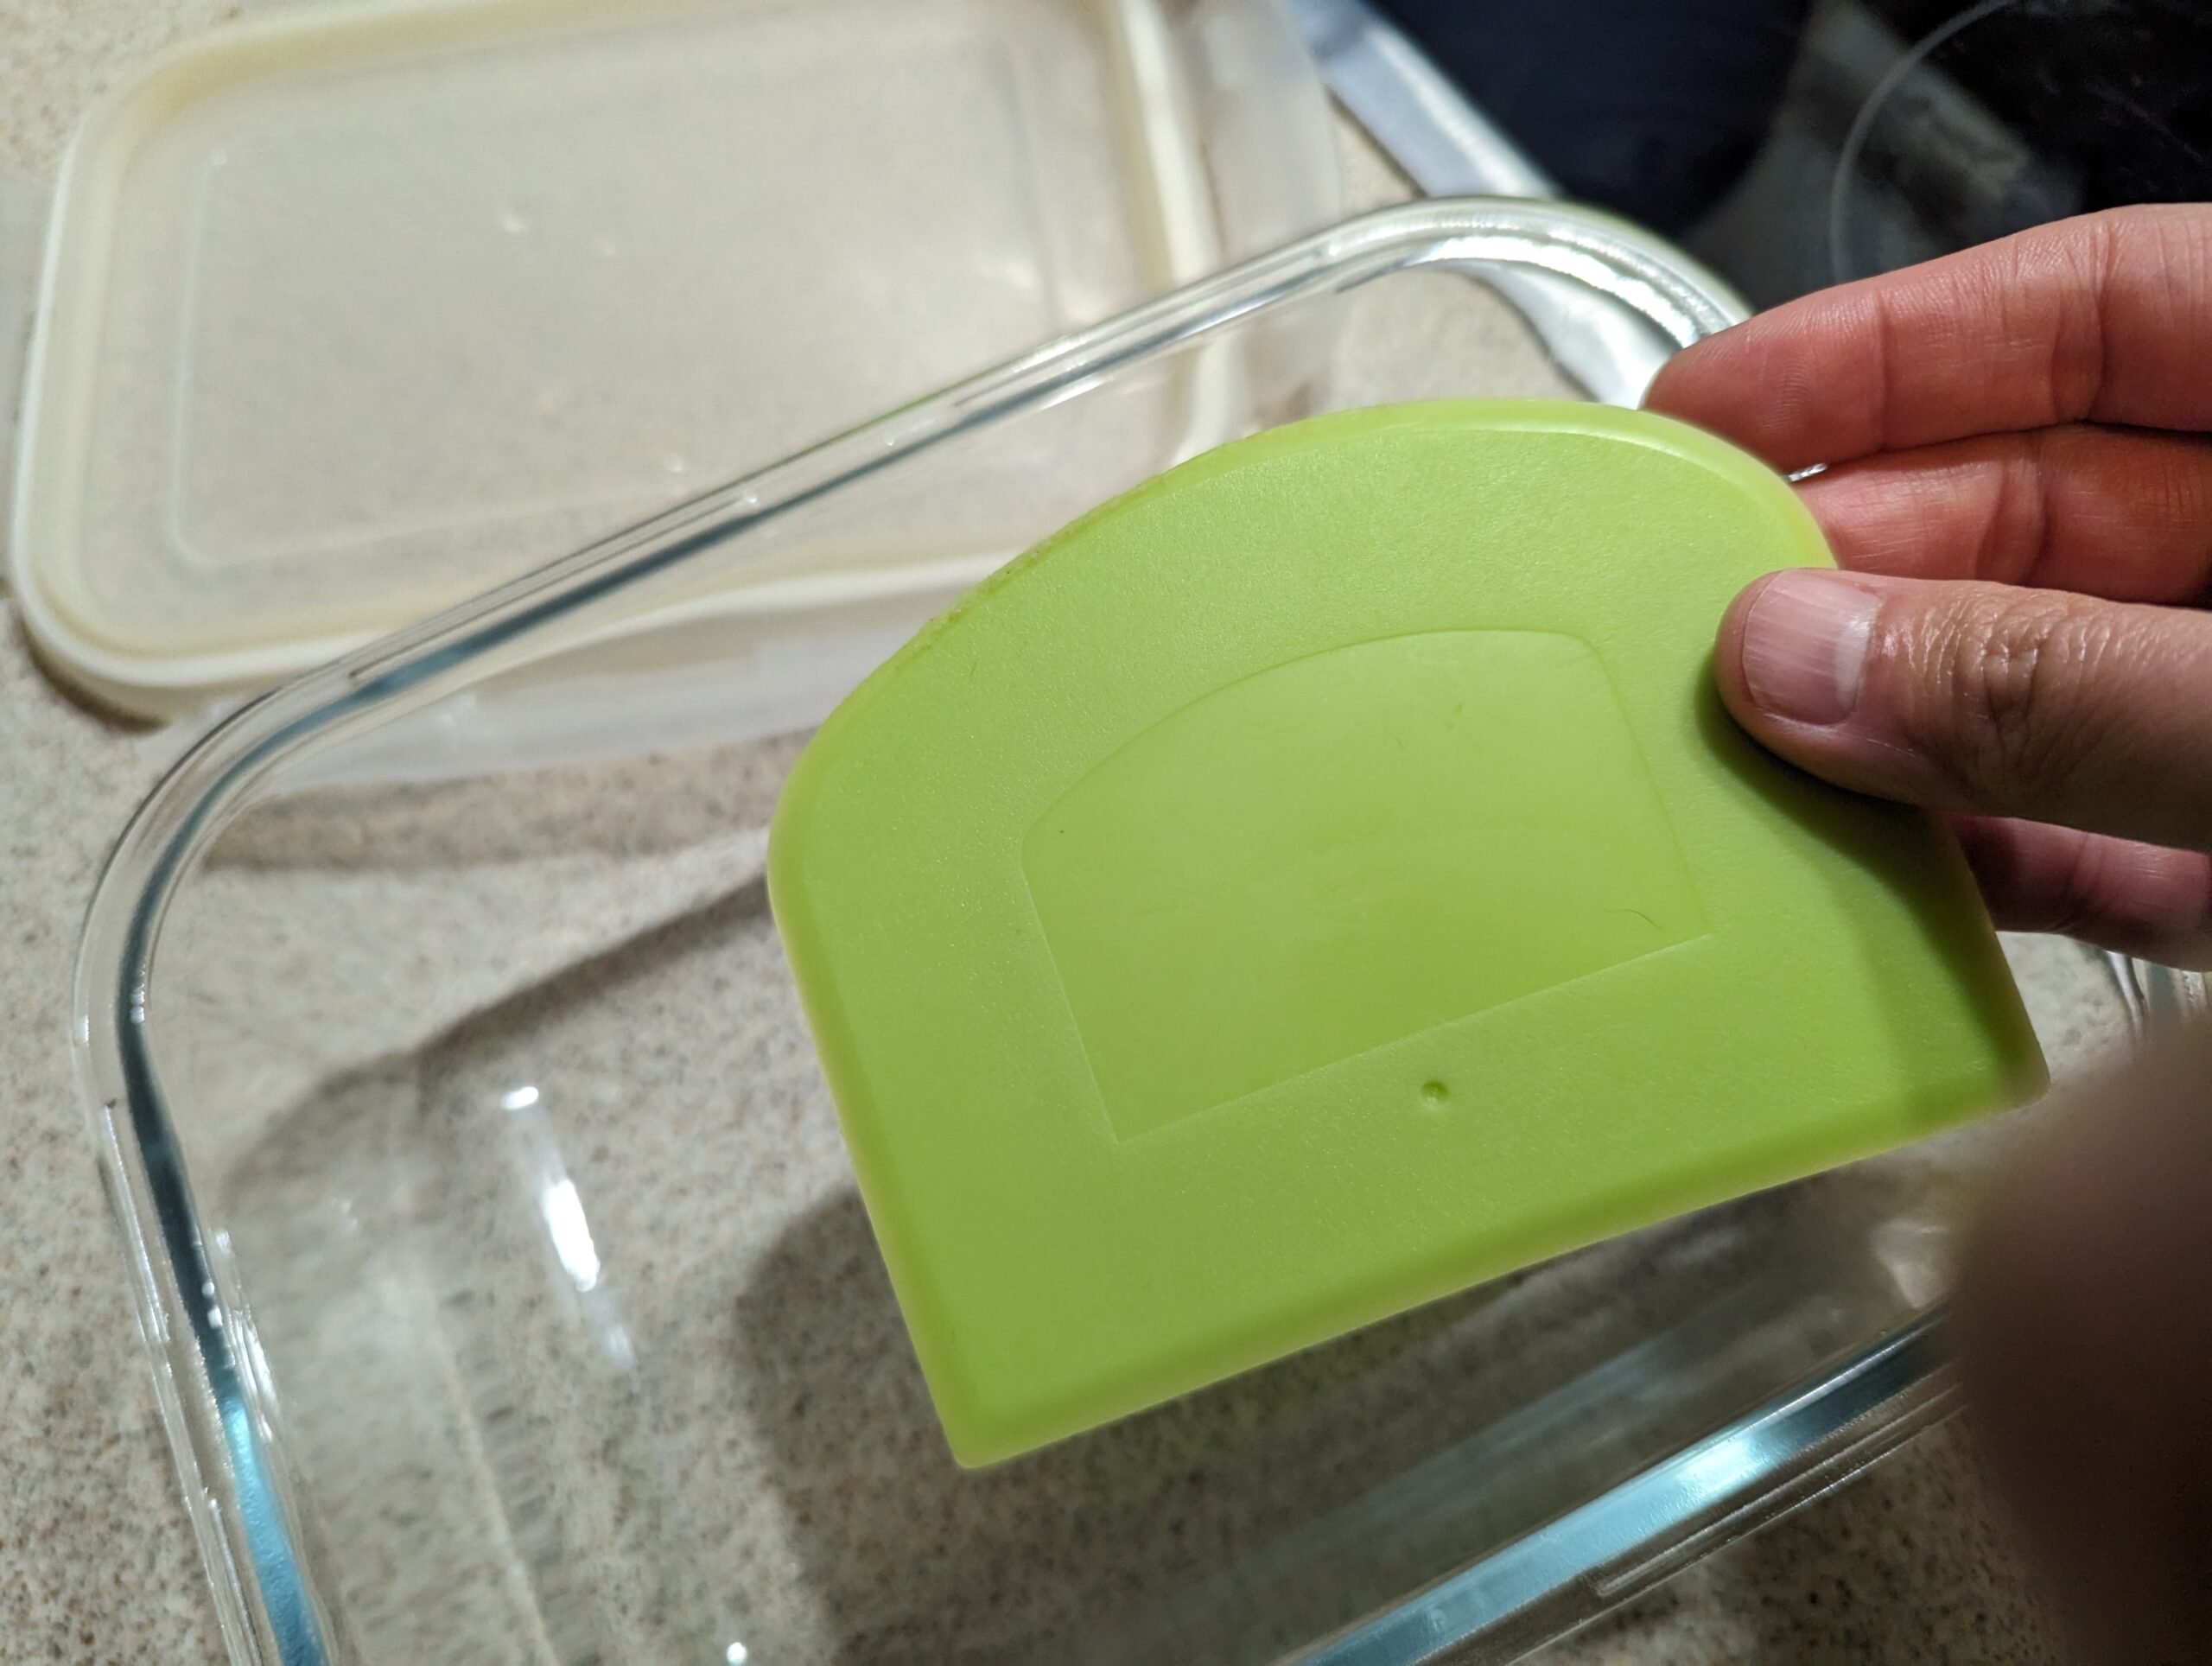
- A silicon scrapper
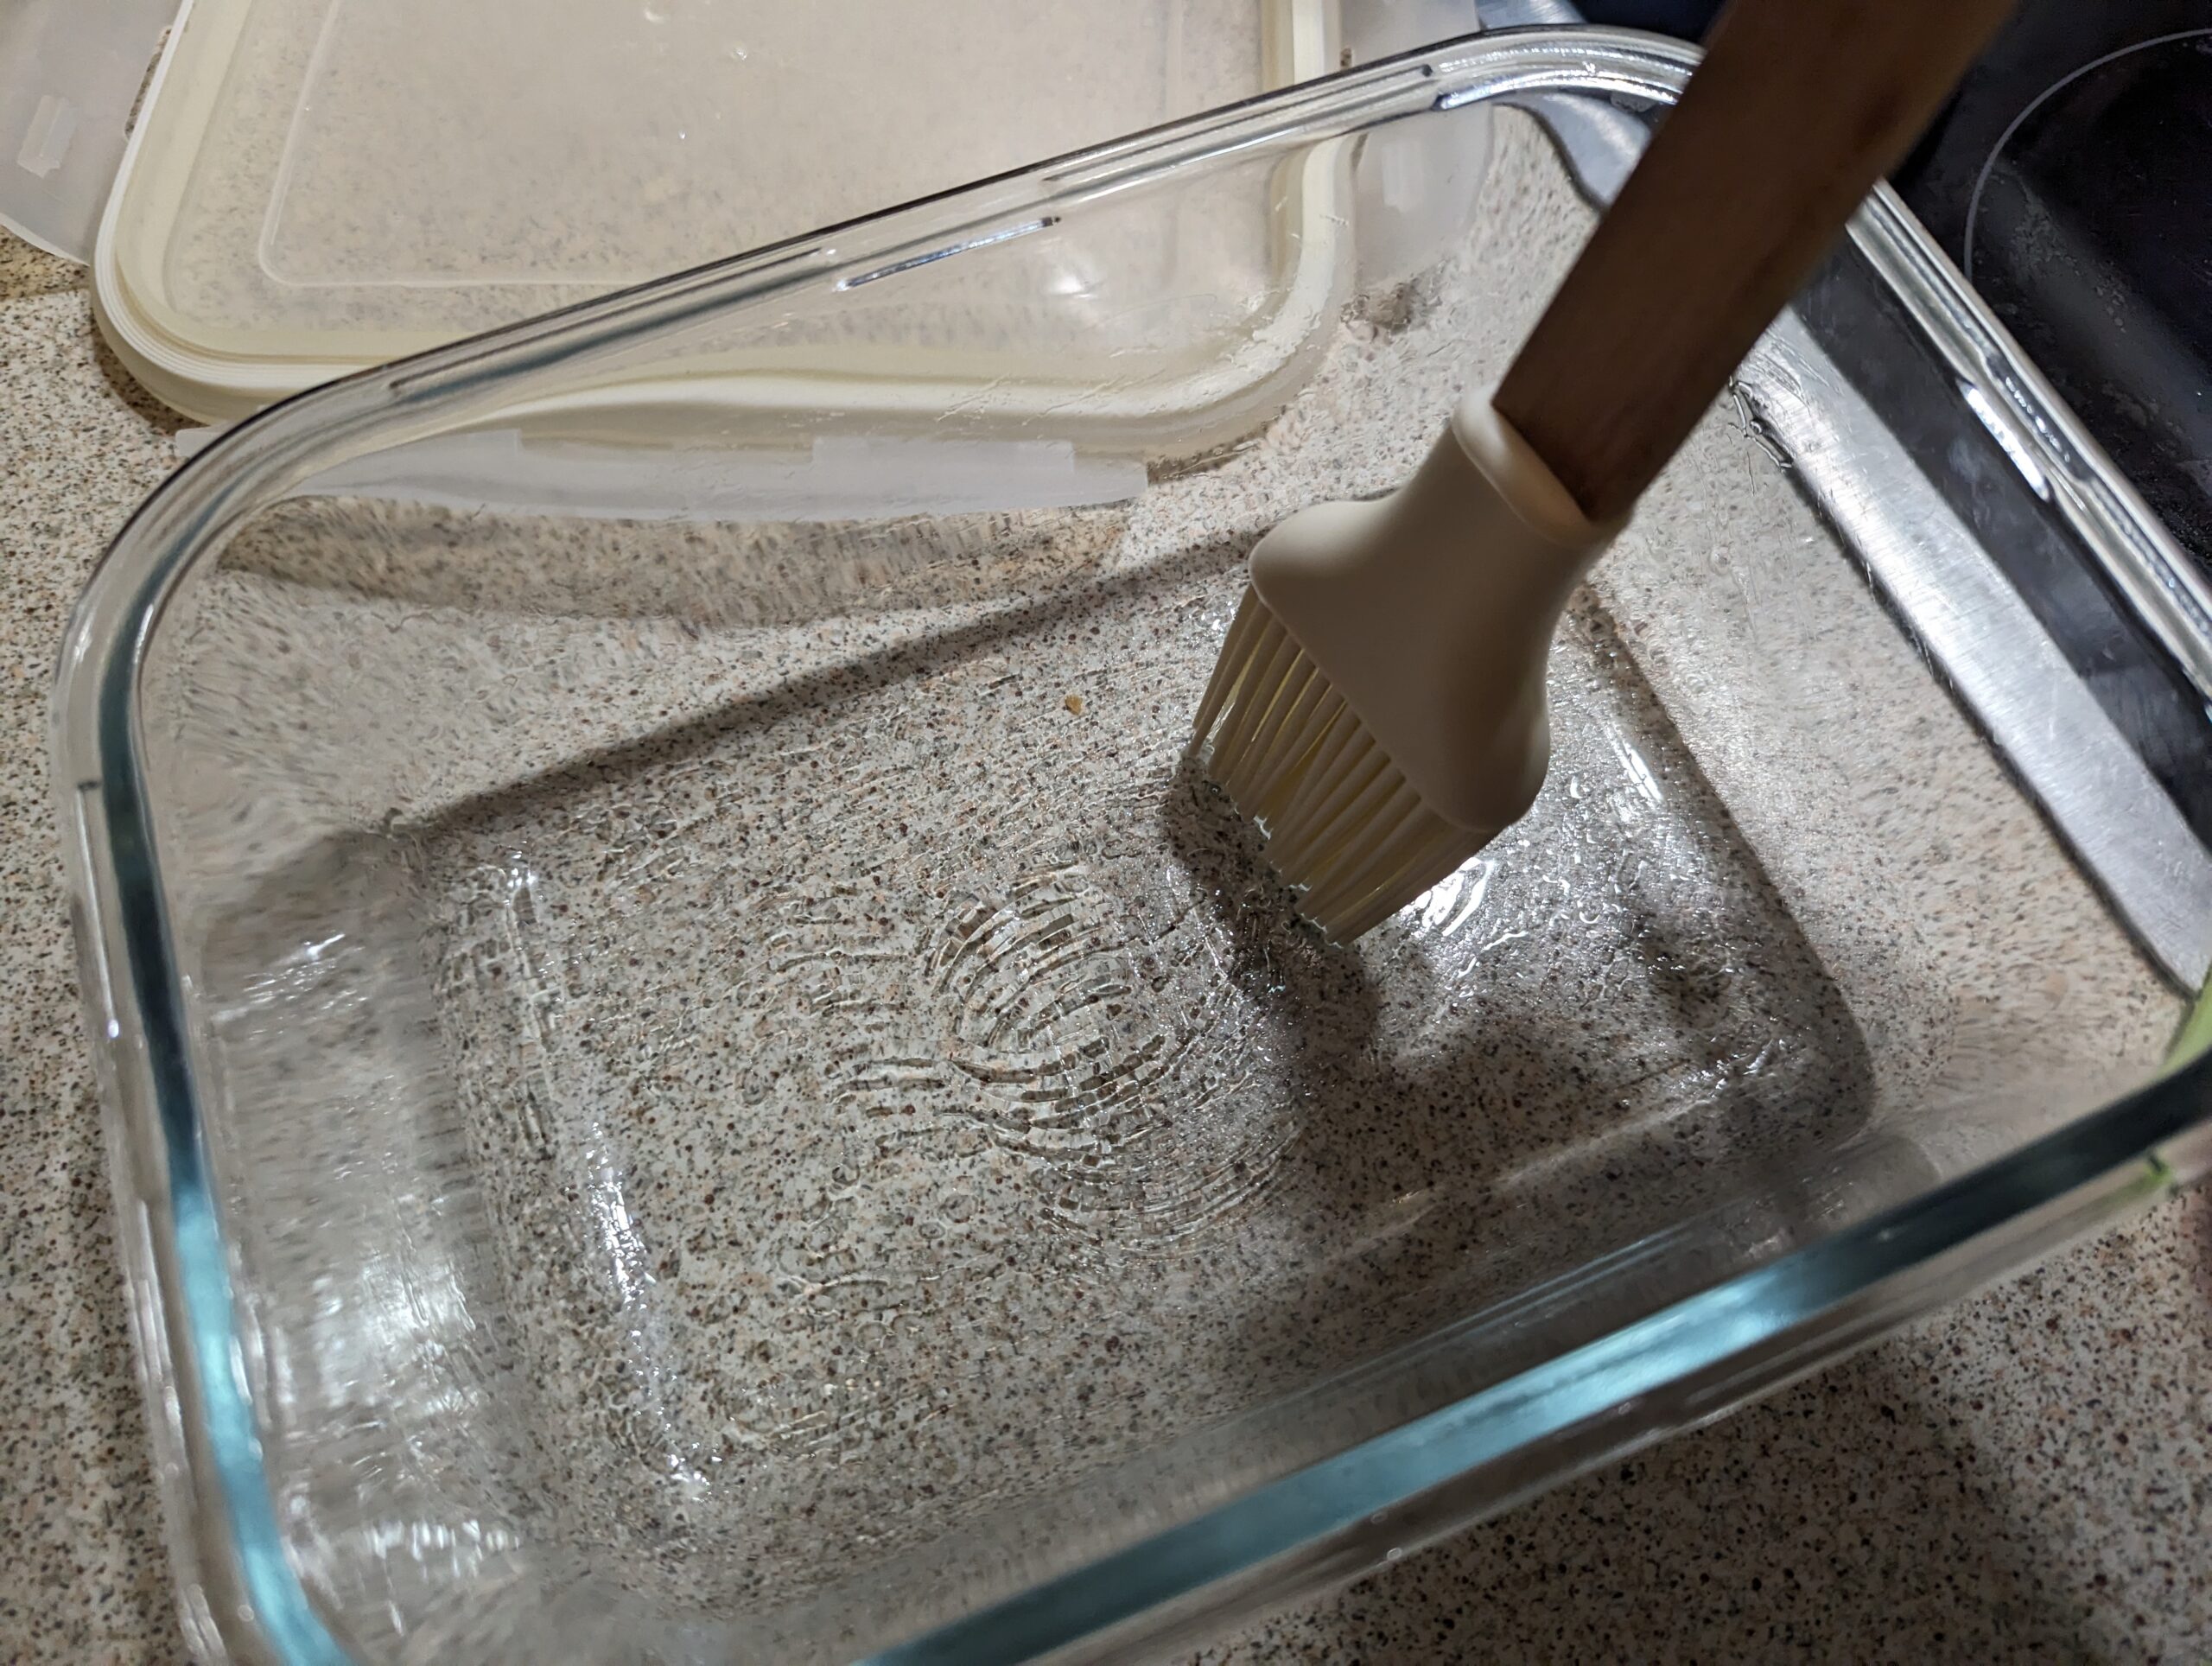
- Greasing brush
- Spray bottle
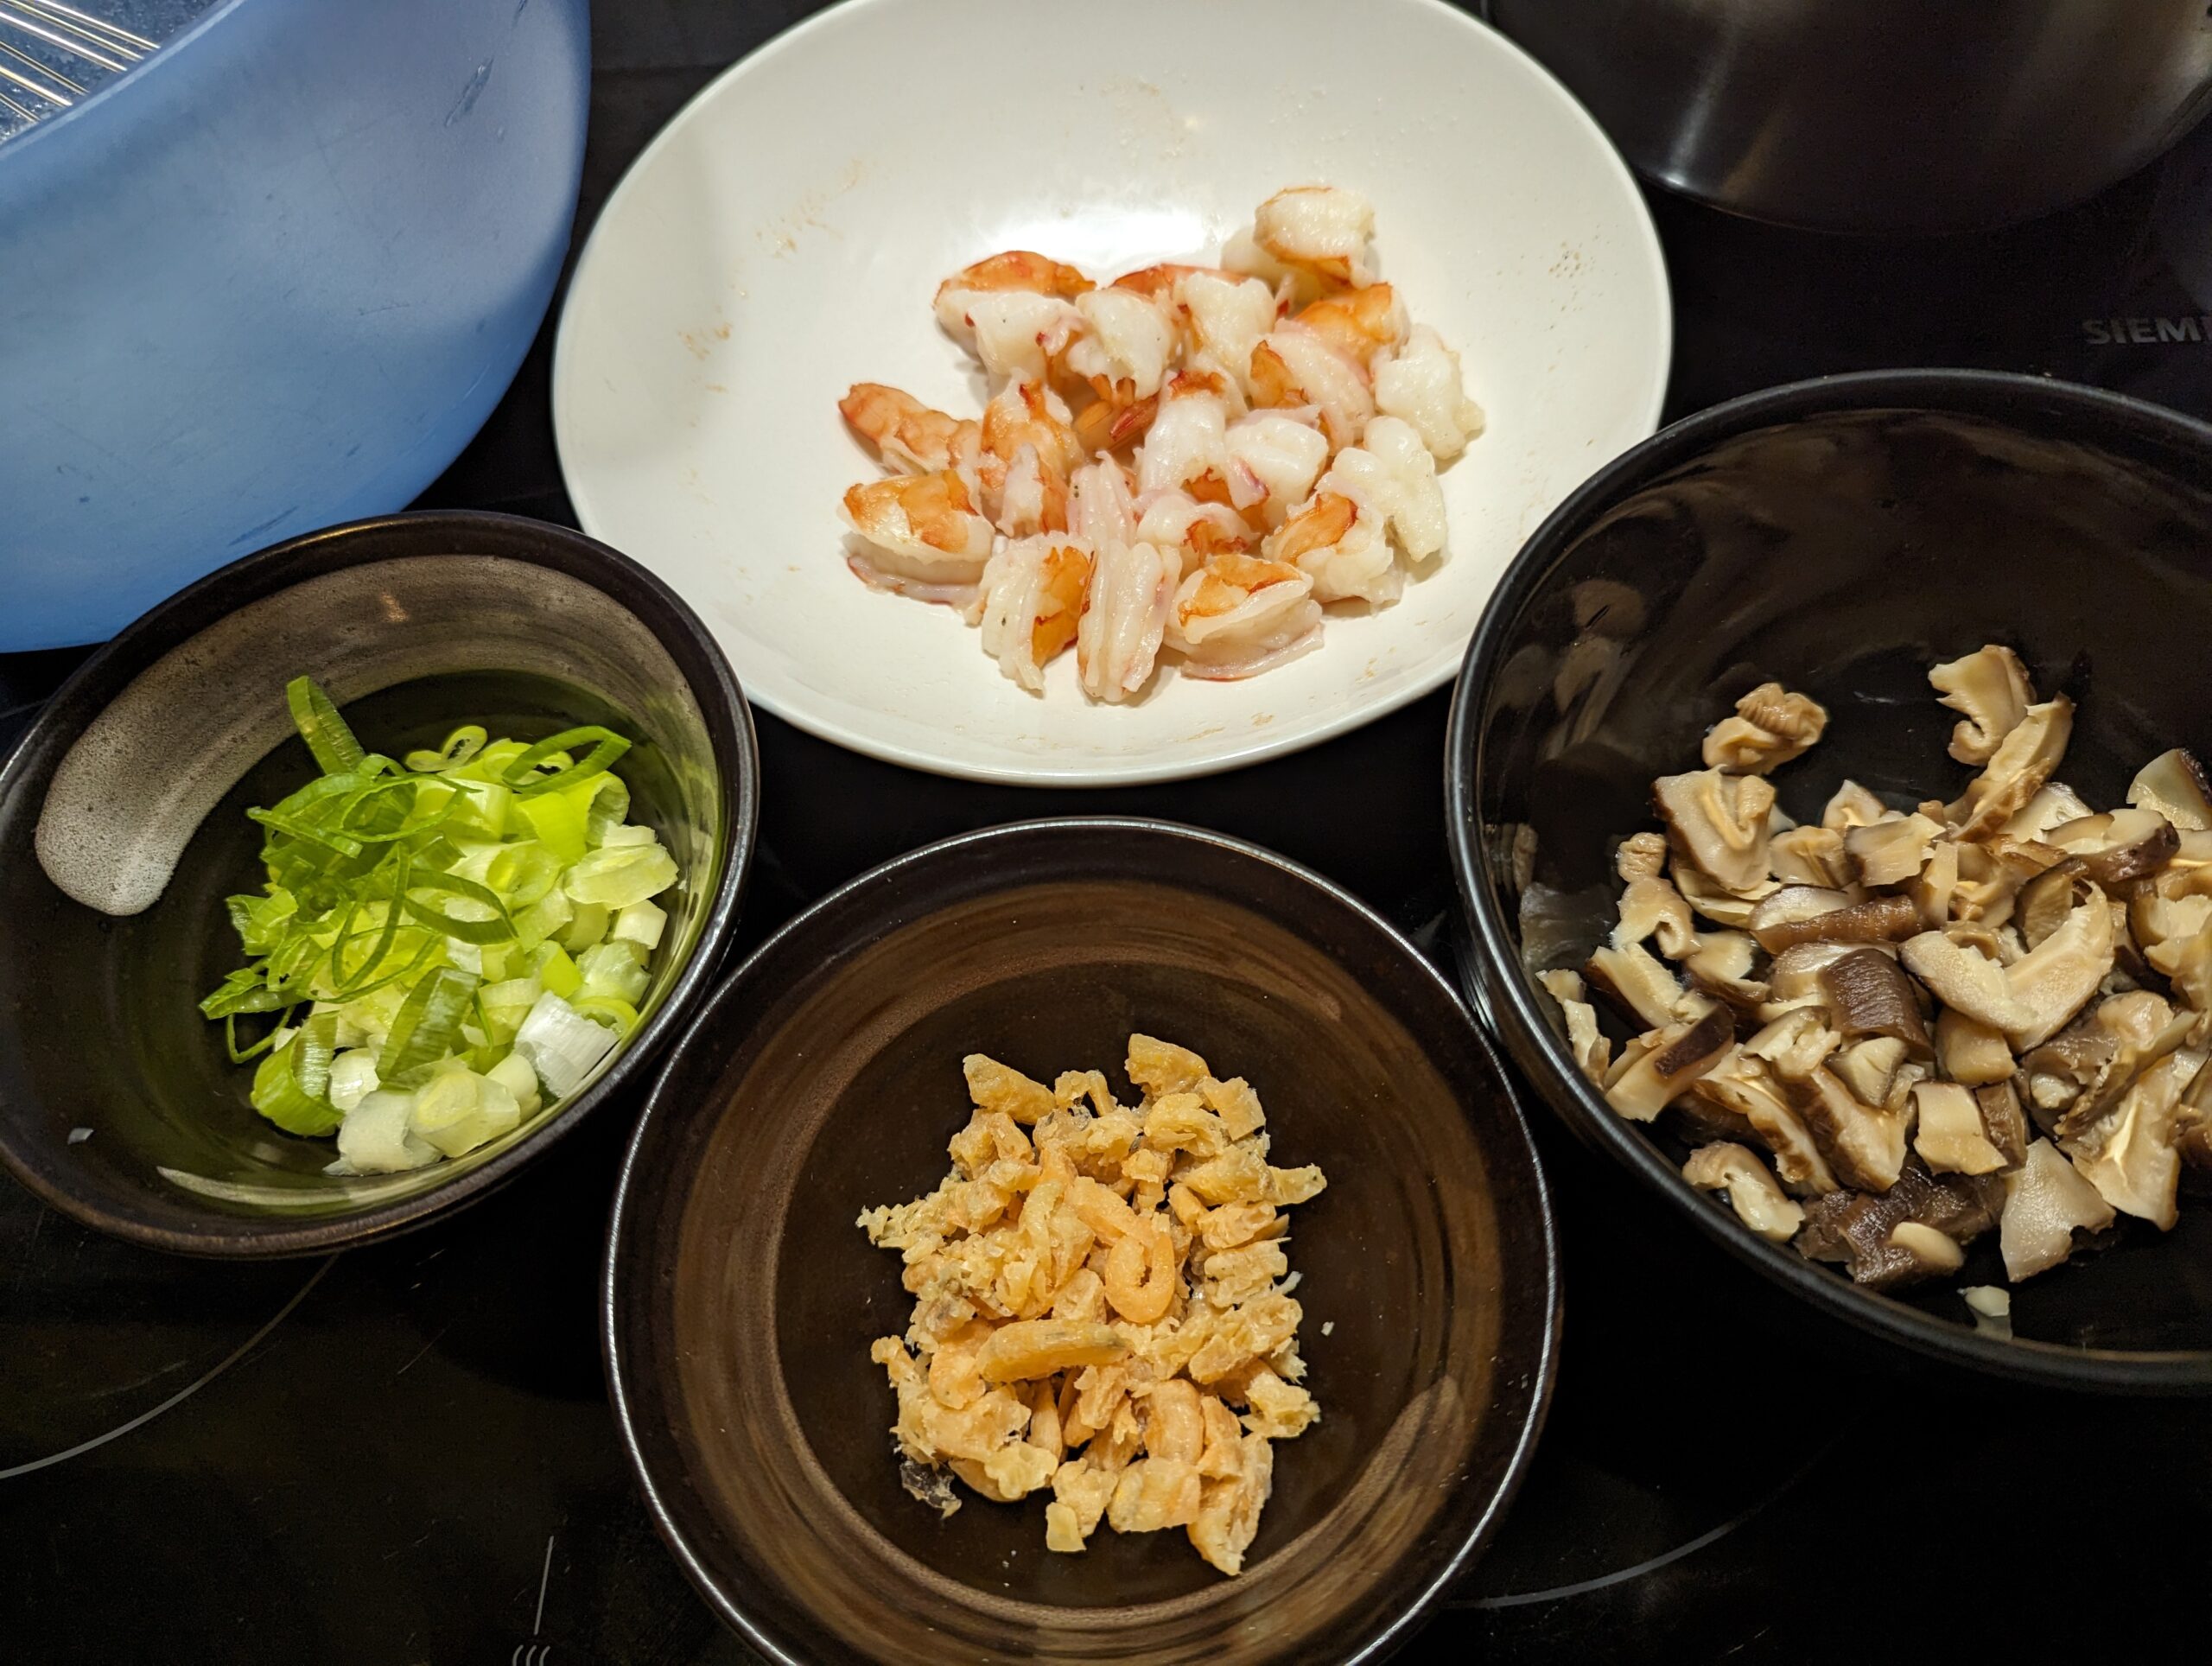
The other criteria is that you need to have prepared some fillings. I like mine with dried prawns and char siew. So here are some suggestions:
- Rehydrated dried shrimps
- Rehydrated shiitake mushrooms, sliced thinly
- cooked prawns
- cooked char siew pork, cubed
- cooked thinly sliced beef
Ingredients:
- 50g rice flour
- 50g tapioca flour
- 200ml water
- pinch of salt
- vegetable oil
Ingredients for the sauce:
- 2 tbs light soy sauce
- 2 tbs hoisin sauce
- 1 tbs sugar
- 100ml warm water
Garnishing:
- Cheongfan sauce (see instructions)
- Sesame seeds
- Fried shallot oil or Sesame oil


Instructions for the sauce:
- Mix all the ingredients together and stir until the sugar is dissolved.
- Set aside for use.
Instructions:
- Mix the rice flour, tapioca starch, water, pinch of salt and 1 tsp oil in a bowl and mix evenly. Let it rest for 10 minutes.
- Grease evenly the bottom of your glass container with 1 tsp oil. Put in the microwave oven UNCOVERED, heat on maximum (800w) for 20 seconds.
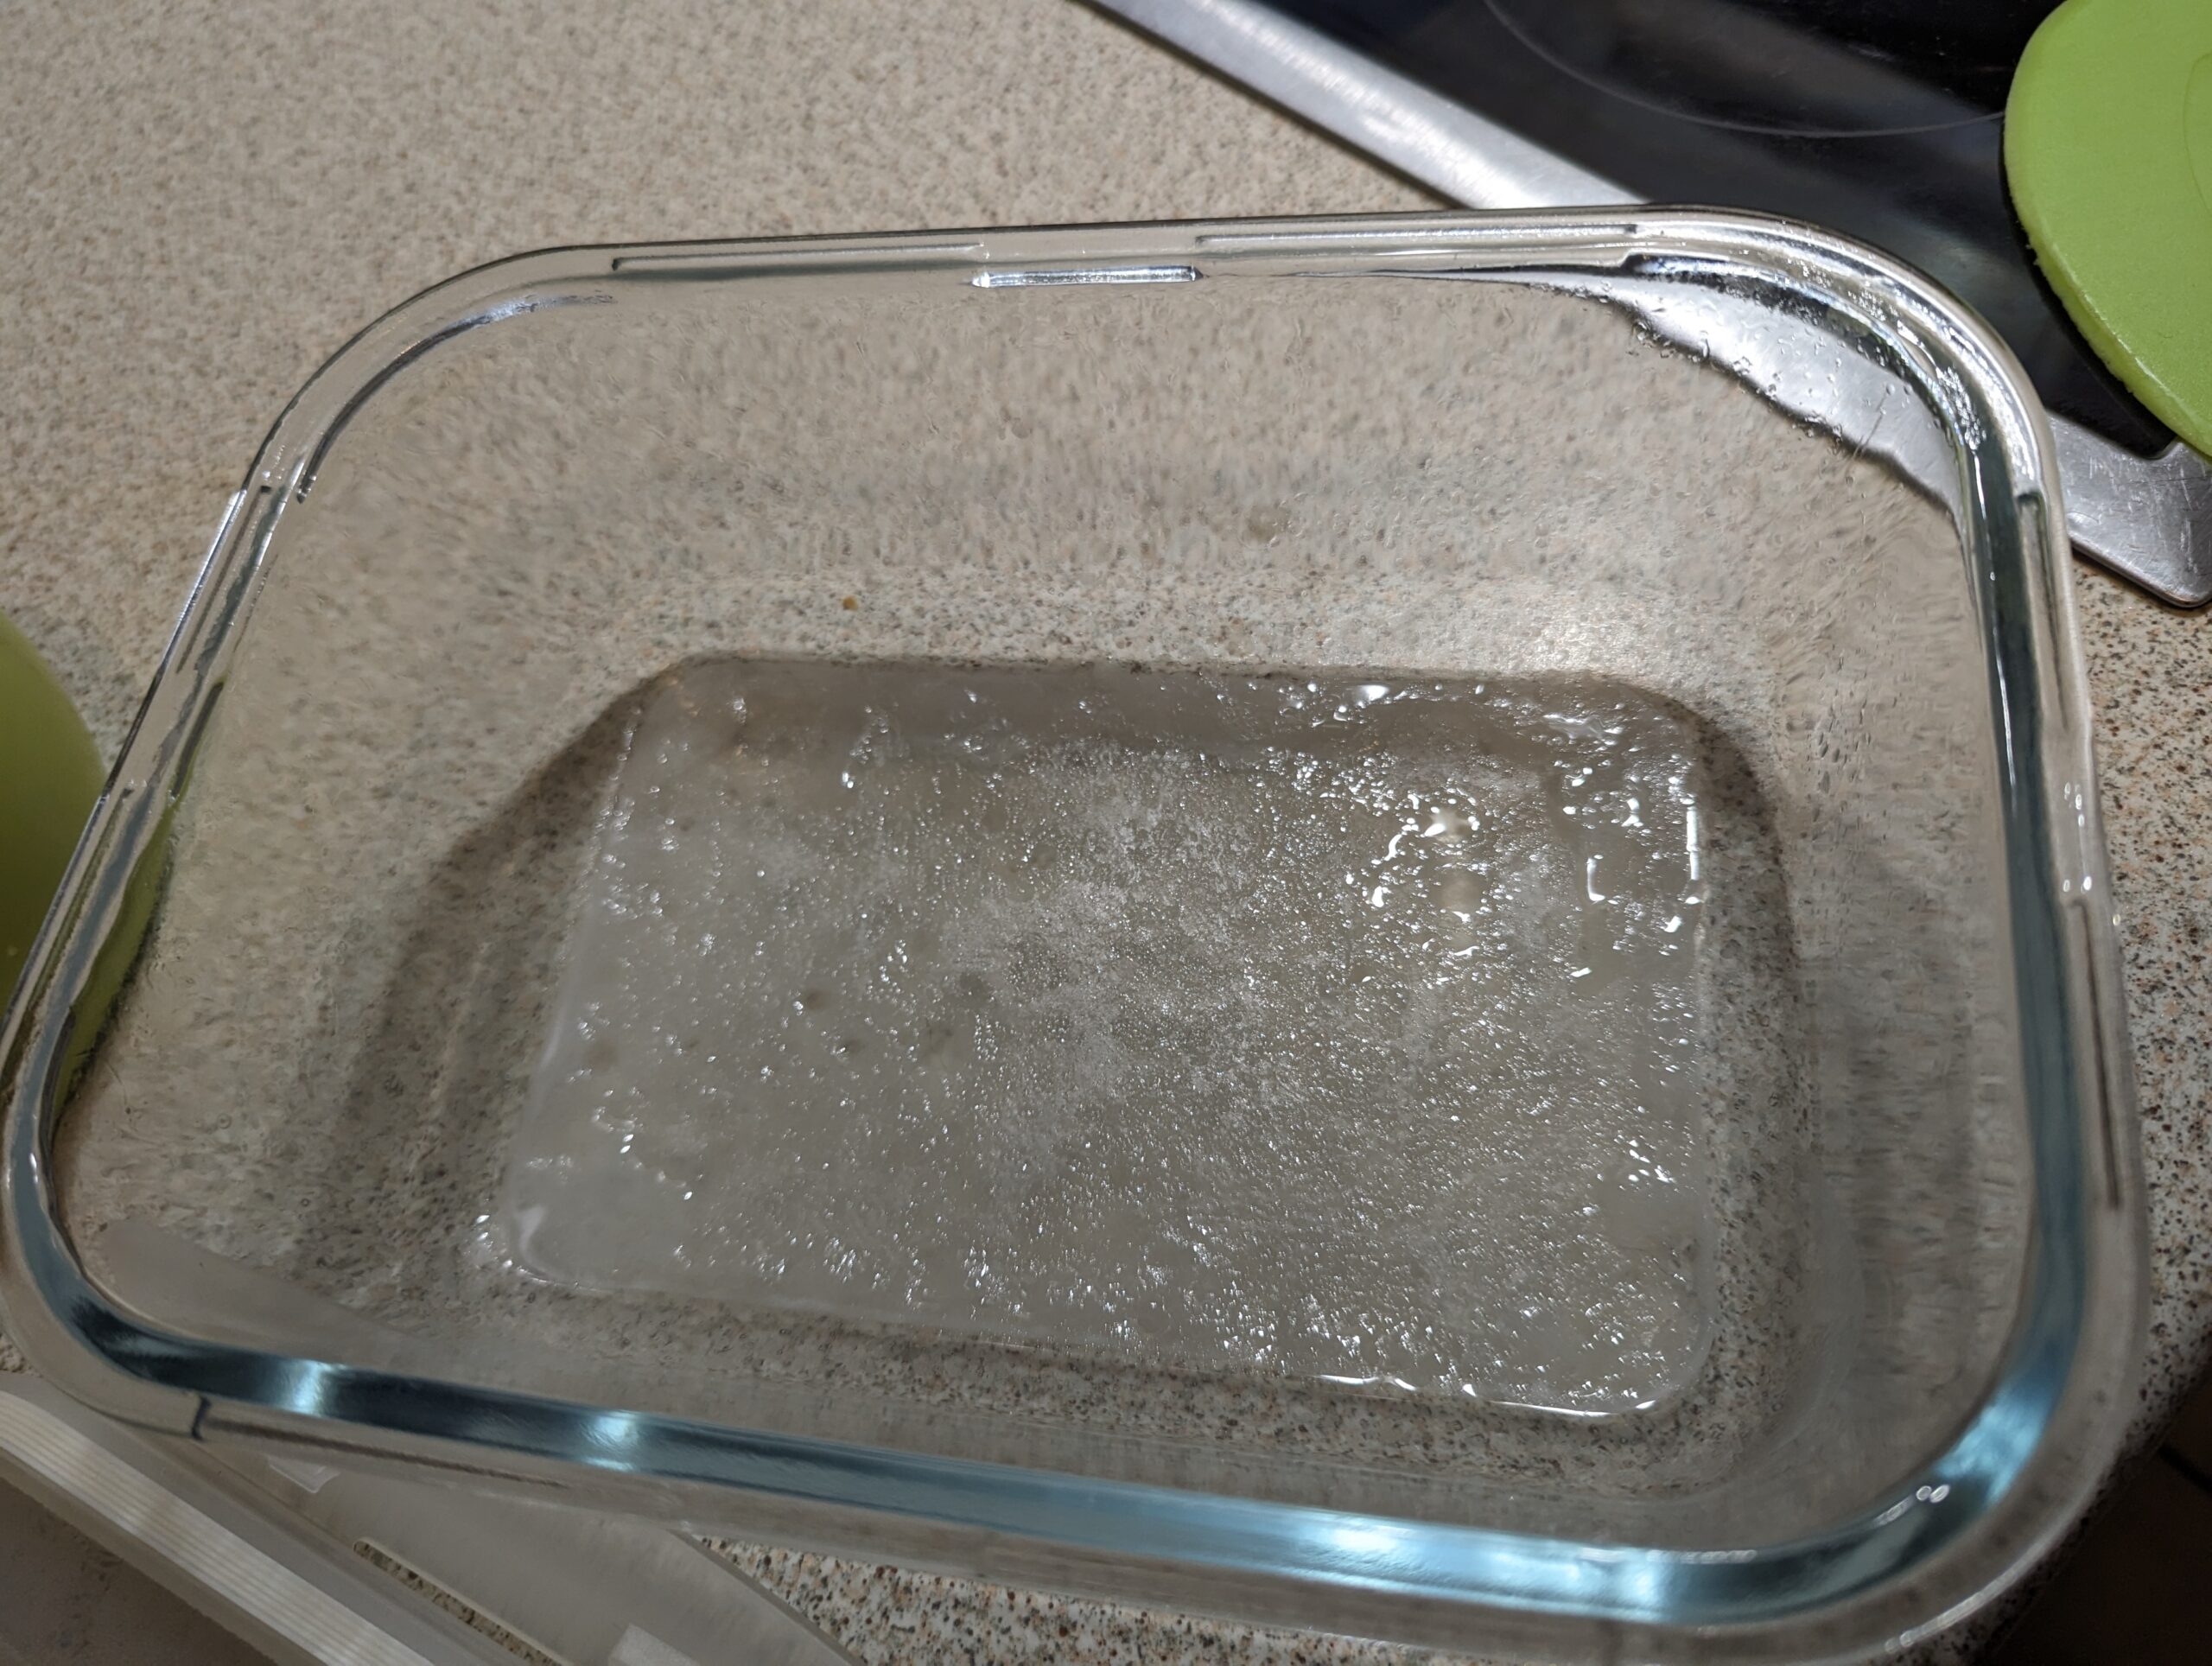
- Pour a very thin layer of flour mixture in your glass container, just enough to evenly cover the bottom. Place in microwave oven COVERED and heat on maximum for 70 seconds.
- The cooked cheongfan layer will now look completely translucent. If it has areas of white uncooked spots, it means that your layer of flour mixture was too thick.
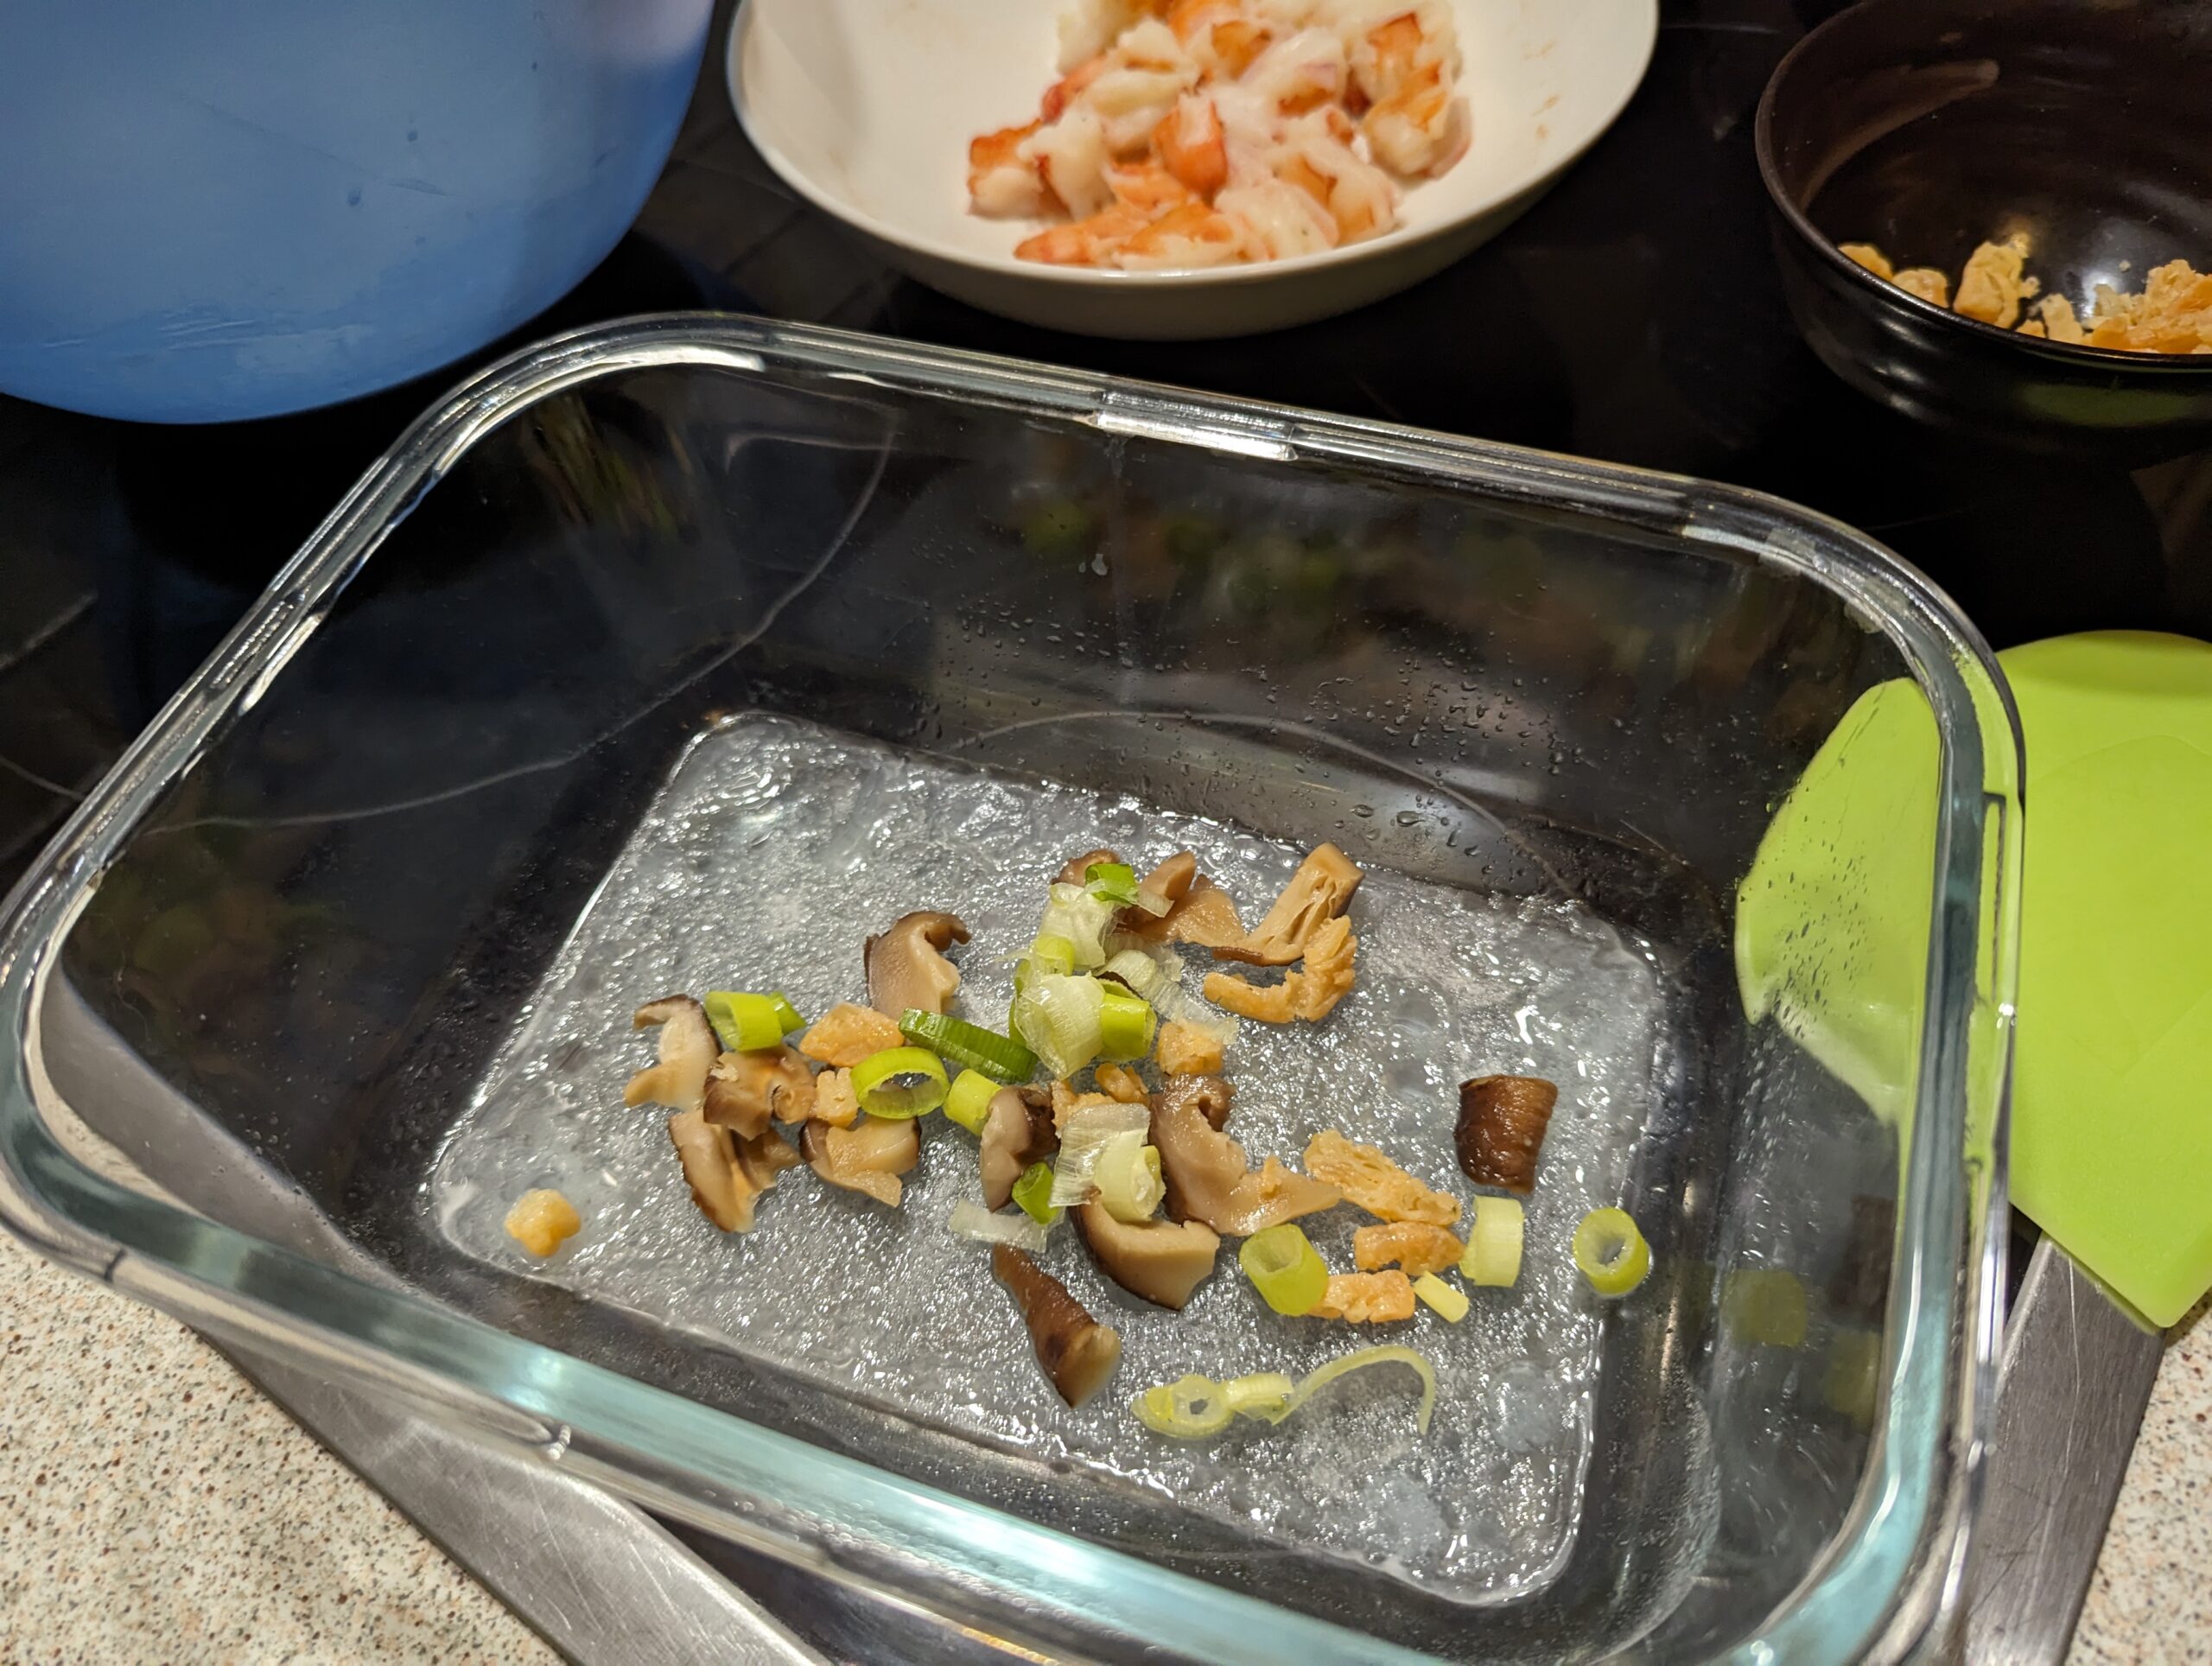
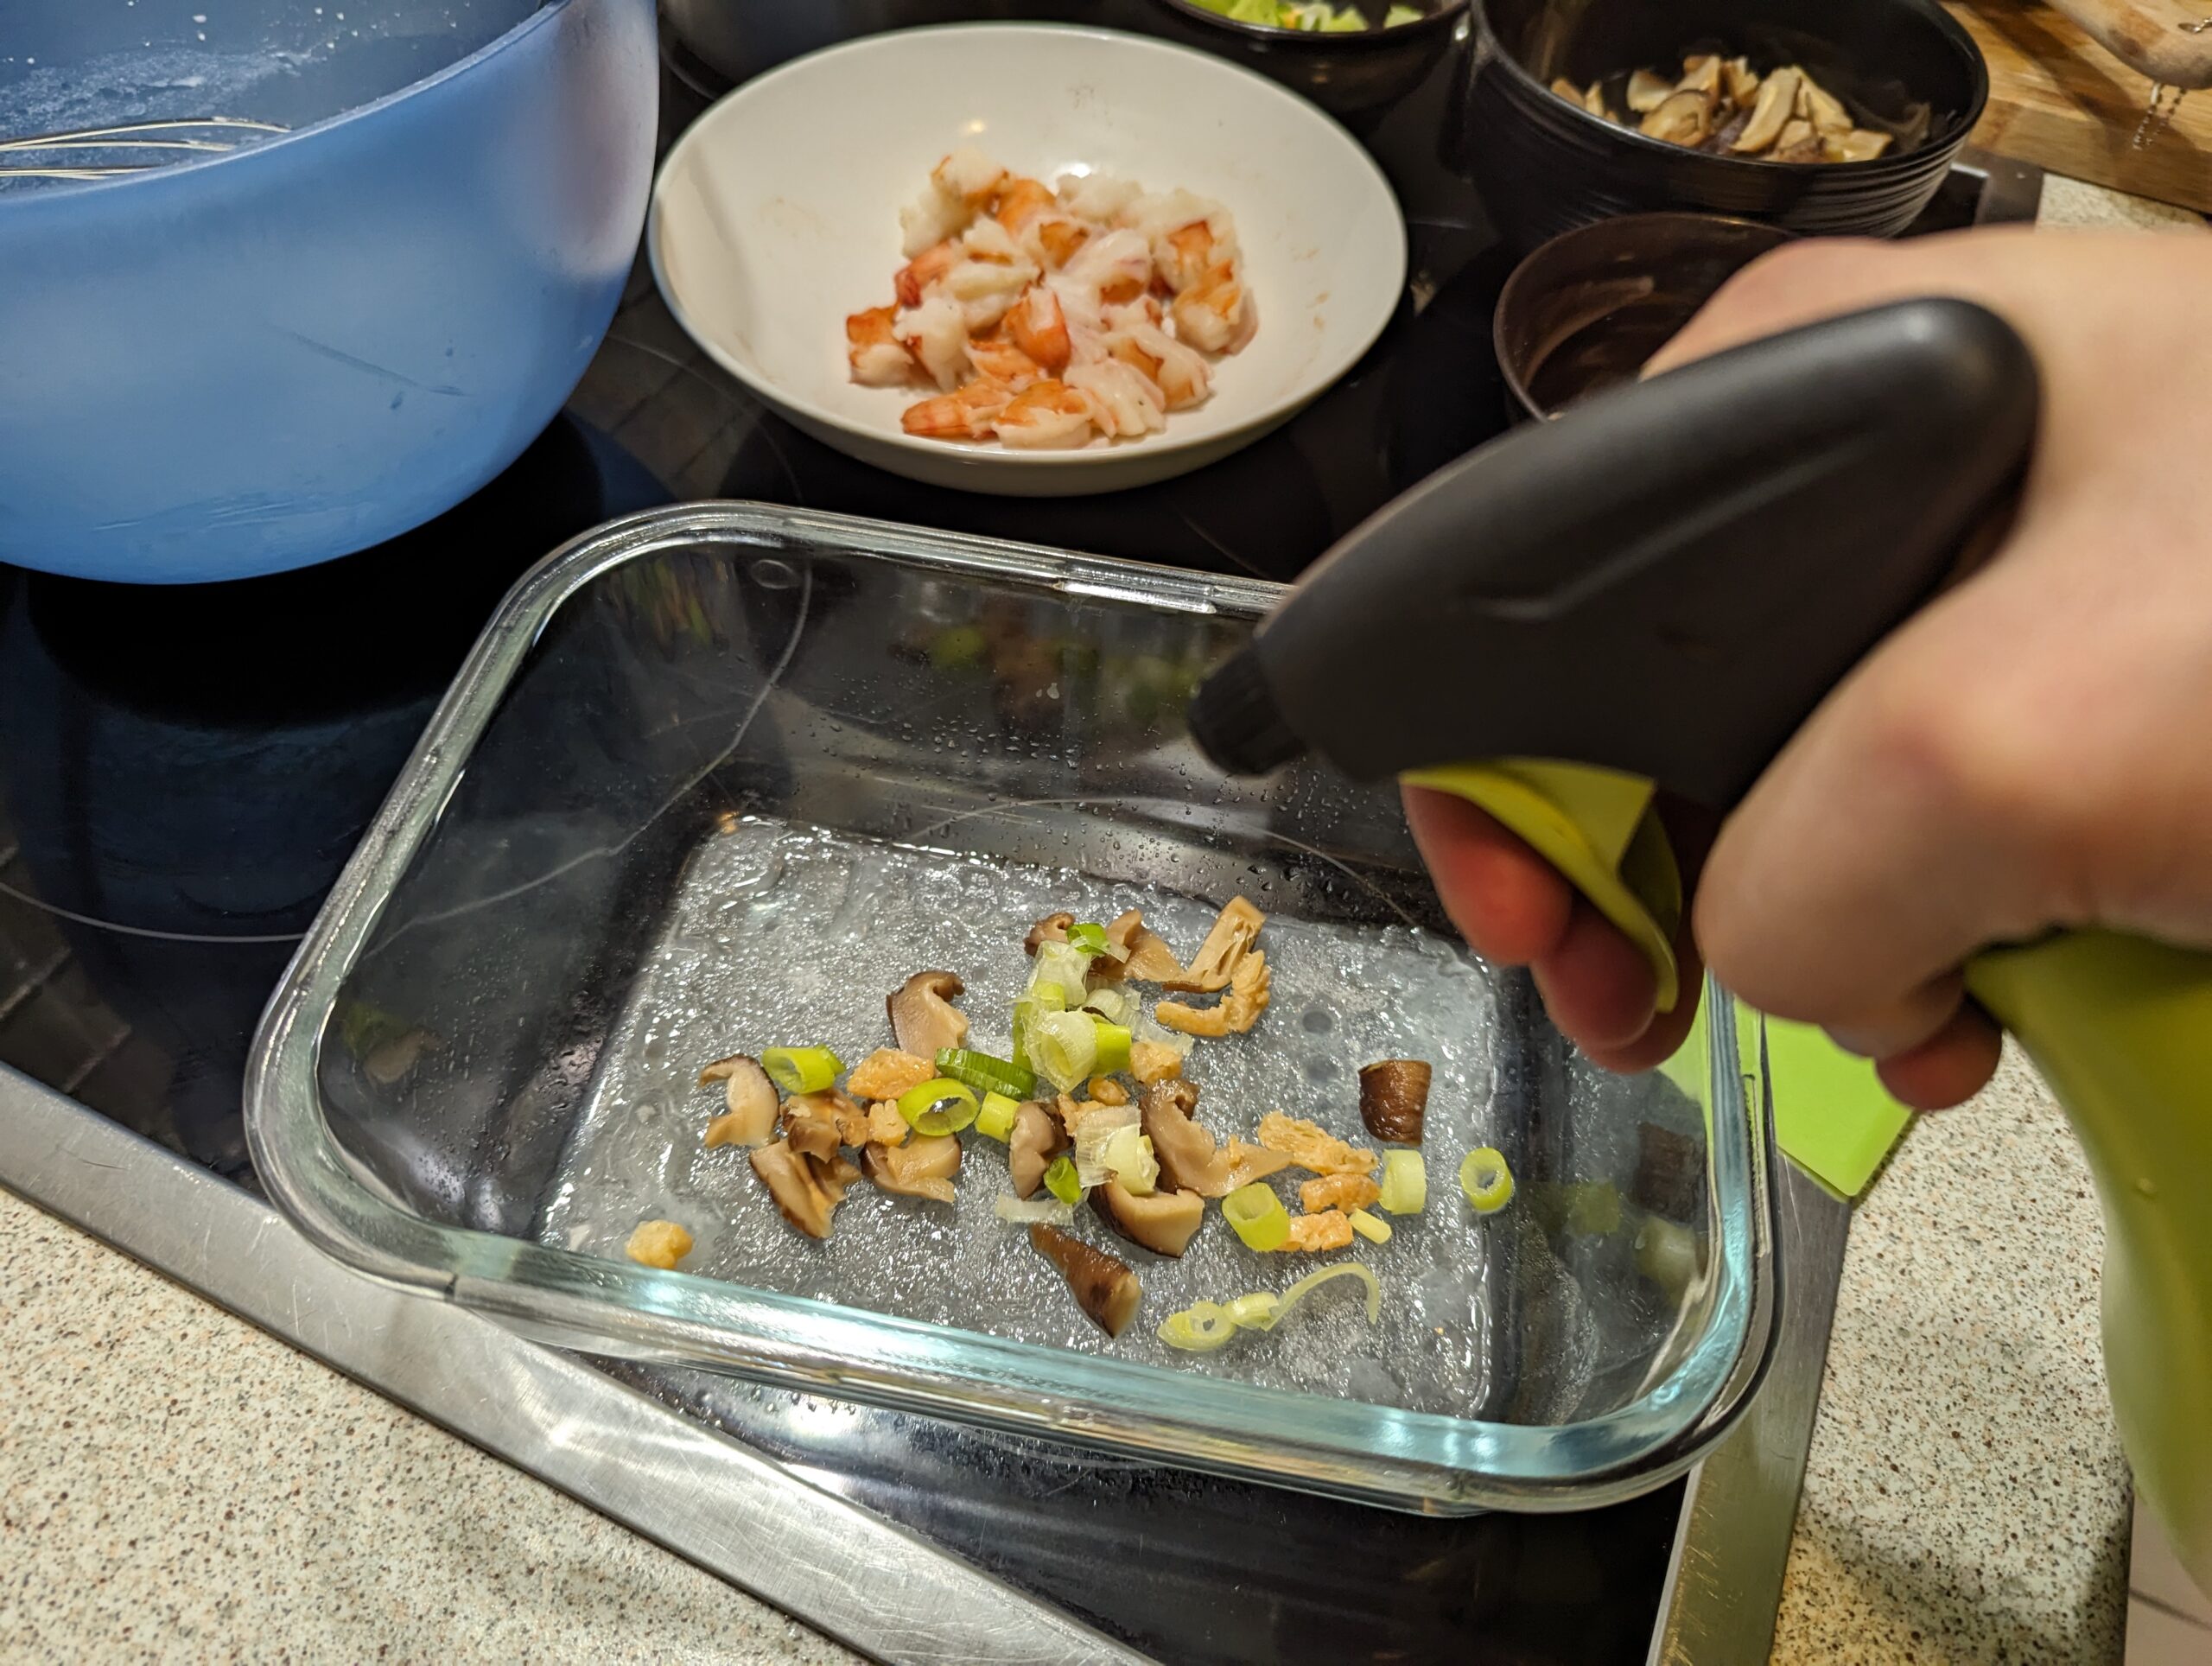
- Place your filling of choice on your cooked cheongfan. Spray some water about three times using spray bottle. COVER and microwave on maximum for 20 seconds.
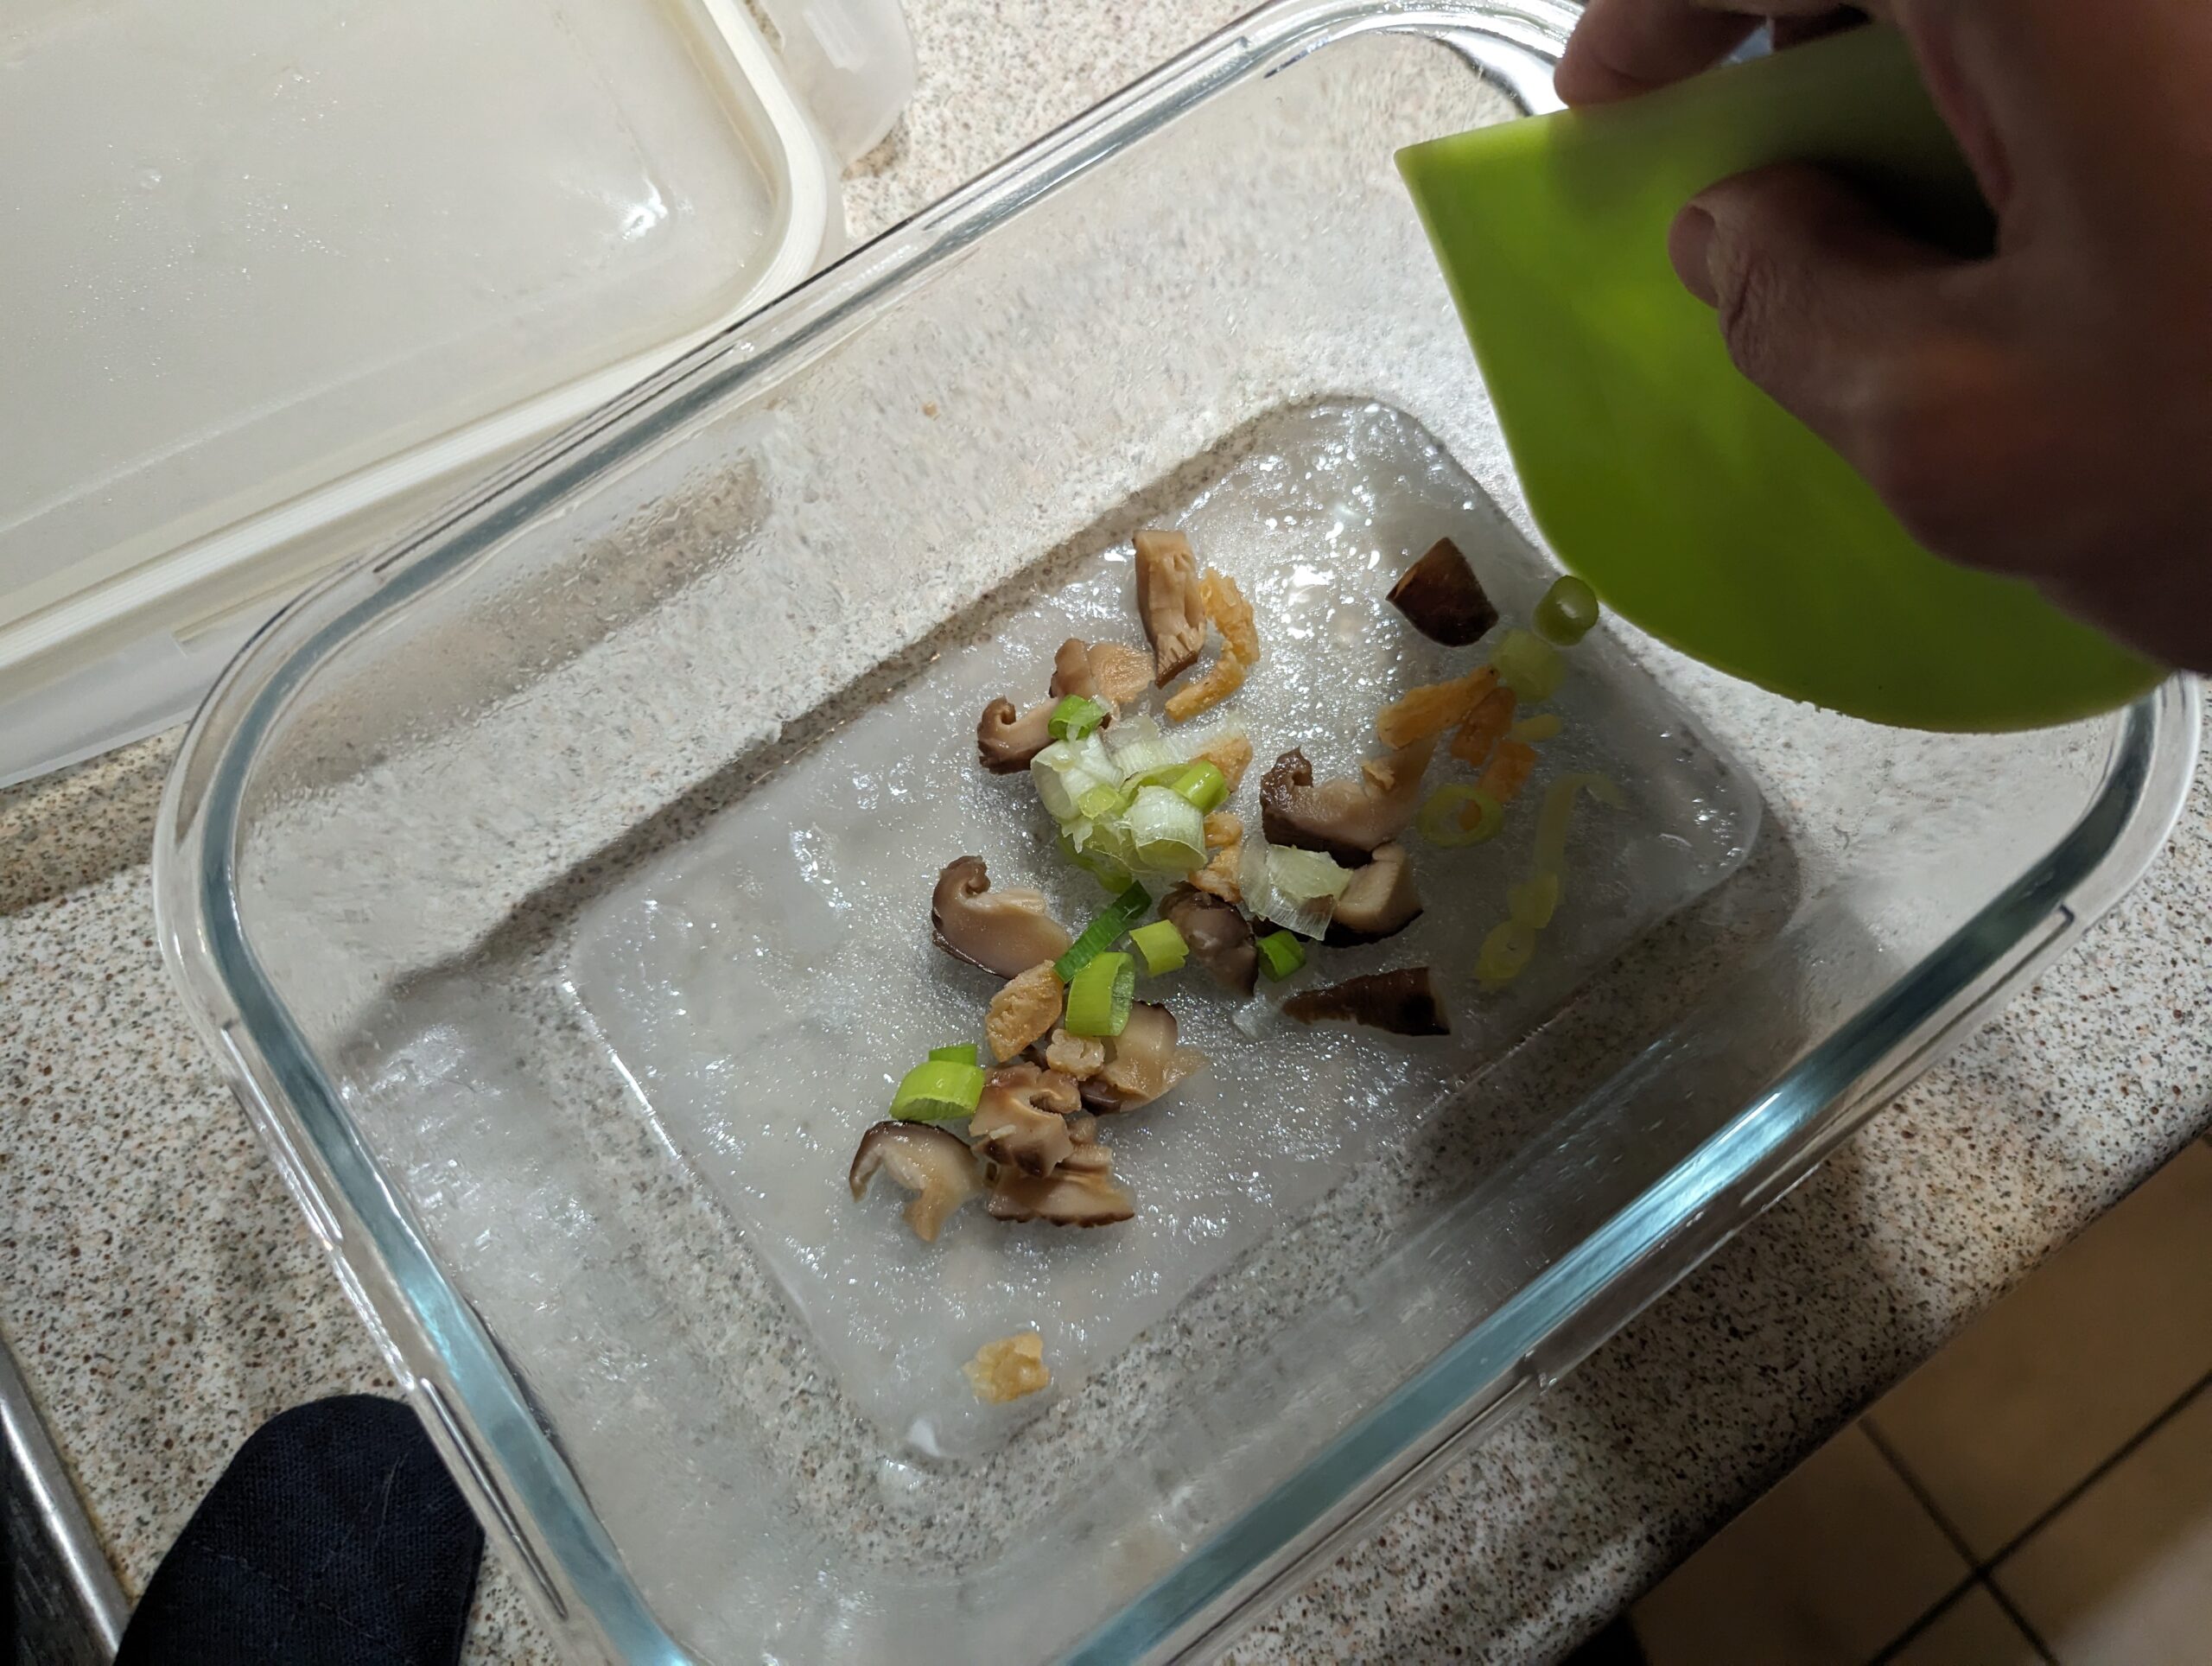
- Take the container out of the oven and uncover. Using the silicon scrapper, slowly and carefully roll your cheongfan in a roll. Place it on a serving plate.
- Repeat the process until you have finished the flour mixture.
- Pour the sauce over and around the completed cheongfan, with some fried shallot oil or sesame oil. Serve.
Enjoy this recipe and let me know in the comments below how it goes!
Advice:
- The reason for heating up the oil in the glass container first before cooking is to get the oil to stick to the glass container to create a layer of lubrication.
- Do not put our filling in with the flour mixture in the first instance! This will create a shadow around and under the flour and this will create areas where the flour does not get cooked.
- The reason for spraying water on the cooked cheongfan is to prevent it from being further drying up with additional cooking, but also to allow some steaming to take place in order to soften it, in order to achieve the same texture as a traditionally steamed cheongfan.
- I freeze my cheongfan and steam them in a steamer whenever I feel like having it for breakfast. The sauce can be kept in the fridge for a day but you can always make a new batch easily.
